Canvas Art Scoring Calculator
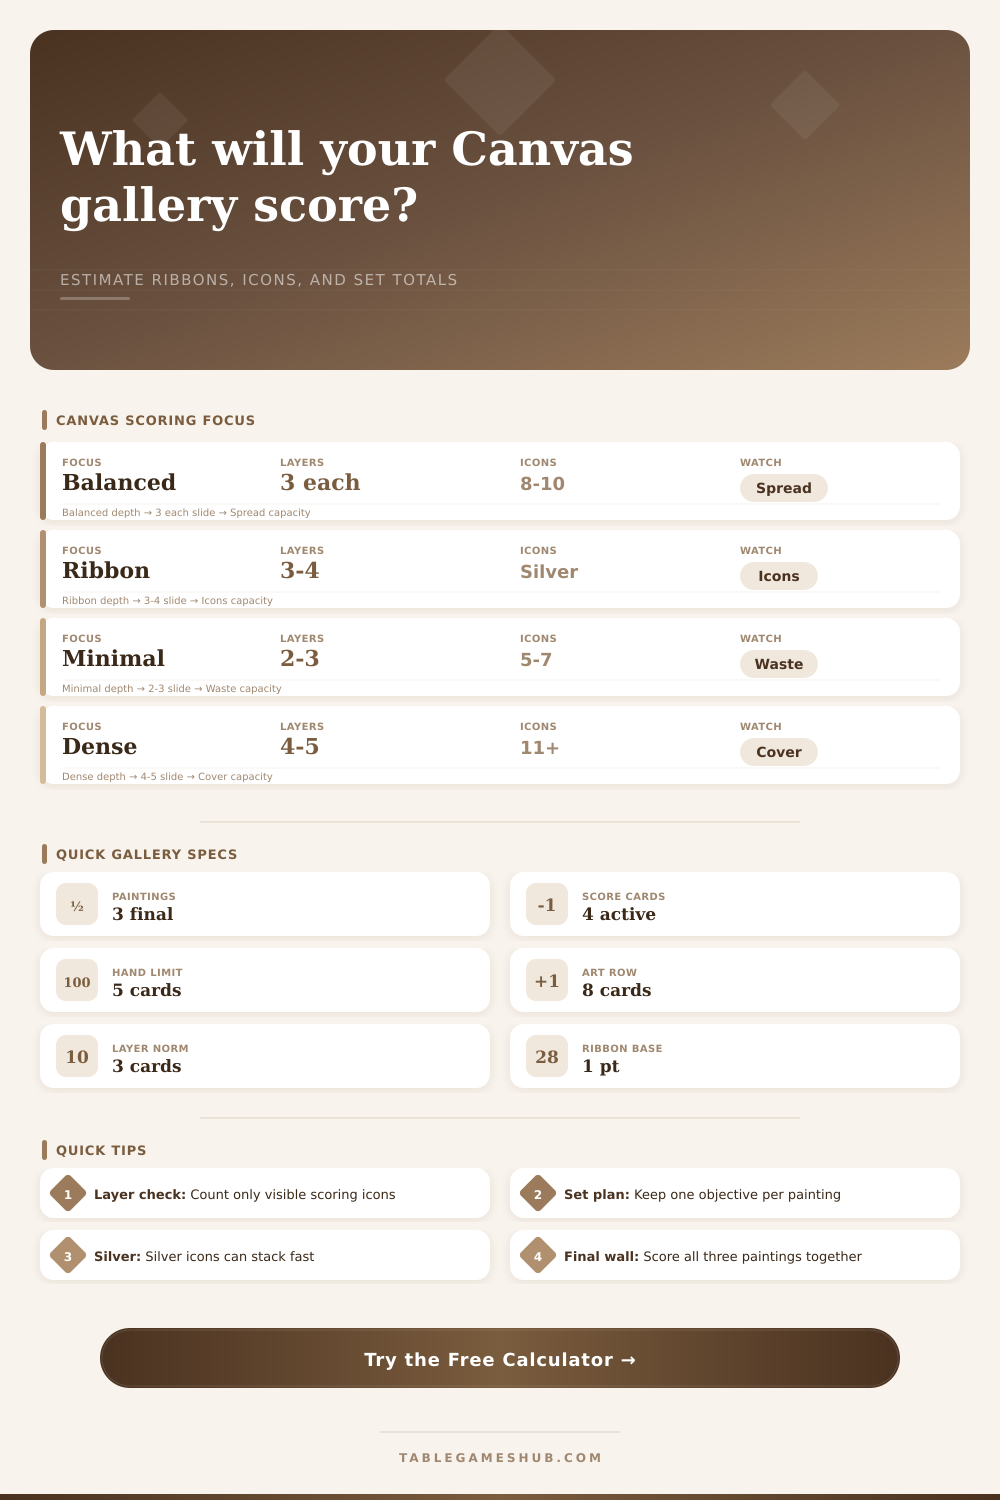
Estimate your Canvas board game gallery score from visible icons, ribbon objectives, card layers, silver ribbons, and three-painting set totals.
| Objective Spread | Best Layer Plan | Icon Target | Scoring Pressure |
|---|---|---|---|
| Balanced mixed ribbons | Three layers with one clear scoring icon lane | 8 to 10 visible icons | Keep each painting useful for at least two scoring cards. |
| Repeated icon pairs | Stack matching symbols on two paintings | 4 to 6 repeated icons | Pairs reward concentration more than broad variety. |
| Varied icon sets | Use layers that reveal different families | Five or more families | Avoid having the final layer cover the missing family. |
| Silver ribbon engine | Protect silver icons with open lower edges | 3 or more silver icons | Silver icons are strongest when they also satisfy color cards. |
| Visible Icon Band | Likely Ribbon Output | Layer Risk | Best Use |
|---|---|---|---|
| 0 to 6 icons | Low, usually 2 to 5 ribbons | Underbuilt or too much cover | Minimalist cards and negative-space objectives. |
| 7 to 12 icons | Stable, usually 6 to 10 ribbons | Manageable overlap | Balanced opening galleries and flexible final drafts. |
| 13 to 20 icons | Strong, usually 10 to 16 ribbons | High final-card cover risk | Pair, set, and color echo scoring cards. |
| 21 or more icons | Explosive if the cards align | Can waste many symbols | Dense spreads with silver icons and repeated objectives. |
| Gallery Set Pattern | Completed Paintings | Set Consistency | Calculator Meaning |
|---|---|---|---|
| Sketch wall | One painting | Low | Useful for midgame checks before committing your hand. |
| Developing pair | Two paintings | Medium | Shows whether your last painting should chase icons or silver. |
| Curated trio | Three paintings | High | The normal final Canvas wall with shared scoring intent. |
| Exhibit trio | Three paintings | Very high | All paintings satisfy at least two composition cards. |
| Draft Situation | Art Card Need | Icon Priority | Action Signal |
|---|---|---|---|
| Five-card hand limit | Complete soon | Keep best three-layer stack | Score before the row passes your missing icon. |
| Open art row | Draft flexible card | Visible bottom symbols | Take a card that helps two scoring cards. |
| Silver icon showing | Protect the icon | Silver plus matching family | Layer around it instead of over it. |
| Last painting | Fill weak objective | Highest missing ribbon color | Prioritize set total over single-card beauty. |
Canvas will help you decide. So many times you’re choosing between two layers: one might be pretty but doesn’t score; the other is ugly but serves the score. In those situations, your gut instinct won’t always work; math will. Use a calculator to end the debate before putting brush to board.
It also captures the heart of the tension: Visibility. You are creating a 3D sculpture, the judge see the surface. And every layer you add, there’s a chance it will cover up those icons that earn points. How does adding this layer increase or decrease that risk? The calculator measure that risk by asking how many icons remain uncovered once they’re overlaid. It makes you think beyond beauty of a finished piece of art and think about what the judge sees when looking at scoring cards.
Use Math to Play Better
If there are twenty icons on display but you don’t have any of them, you is playing a different game then your opponent. The problem most people have is that they think about their individual paintings too much and don’t think about the wall as a whole.” The calculator’s set consistency input goes straight to this point. Does your wall contain a curated collection of three paintings or does it consist of a mix of whatever sketches happened to get hung? While the latter may be pretty, it doesn’t hit the same set of objectives again and again, which lead to multiplier effects. Even though your individual paintings may look great, your score will end up feeling flat if they’re working against each other. The calculator prize cohesion. It tells you that having an average painting that helps push your overall strategy are better than having a masterpiece that sits there all by itself.
Finally (and this is where beginners get tripped up), there’s another layer of complexity: silver ribbons. Silver ribbon stack quickly by design. The reference tables on the page show that you don’t want to cover your silver icons; you want to protect them. If a higher card covers a silver icon then all you has is a pretty detail. If a silver icon lines up and is exposed to a color objective, you’ve got an engine. But how do you know when to keep it exposed? When does the risk of leaving it exposed outweigh the benefit of another layer above it? That’s what the calculator helps you weigh. It’s a trade off between immediate points vs. You might get more points in the future.
The metric that differentiates the good players from the great players is layer efficiency. That’s a measure of how many of the icons you see actualy generate something for you. If it’s high, then you draft with purpose, only keeping what serves your cause while discarding the rest. Is it low? You’re probably hoarding cards because you fear wasting them. This causes clutter and wasted space in your painting. The calculator will show you whether those icons you can see is generating ribbons, or if they’re just taking up space. It is a harsh mirror, but it is accurate.
Sometimes when you draft a game, you’ll discover the estimate is below what you anticipated. In those cases it’s likely because you’re underestimating the difficulty of the scoring conditions, but overvaluing the artwork. Every game has different goals. What’s effective on a dense tableau set-up won’t work well on a minimalistic one. What’s effective in a balanced ribbon spread won’t work well when faced with a stack of ribbons. Those differences is accounted for in the spread, allowing you to adjust your drafting to the specific pressure each round presents. It helps remind you that adaptability is more important then a strict game plan.
At its heart though, this game is about control. You control what you draw, but you can’t fully control what your opponent draws next. And while you can never control the latter completely, the calculator provides a baseline, a moment of clarity amidst the mess. This isn’t necessarily a “you should pick this” moment, but it is a “this is what this is worth against the rest of your gallery” moment.
Run it by your assumptions. Are your numbers efficient? If they’re not, take another look at those paintings. Maybe you’re burying your gold. This isn’t a game about filling up the wall, it’s a game about making each visible image count for something. You should of checked your math first.