Rook Nest Calculator
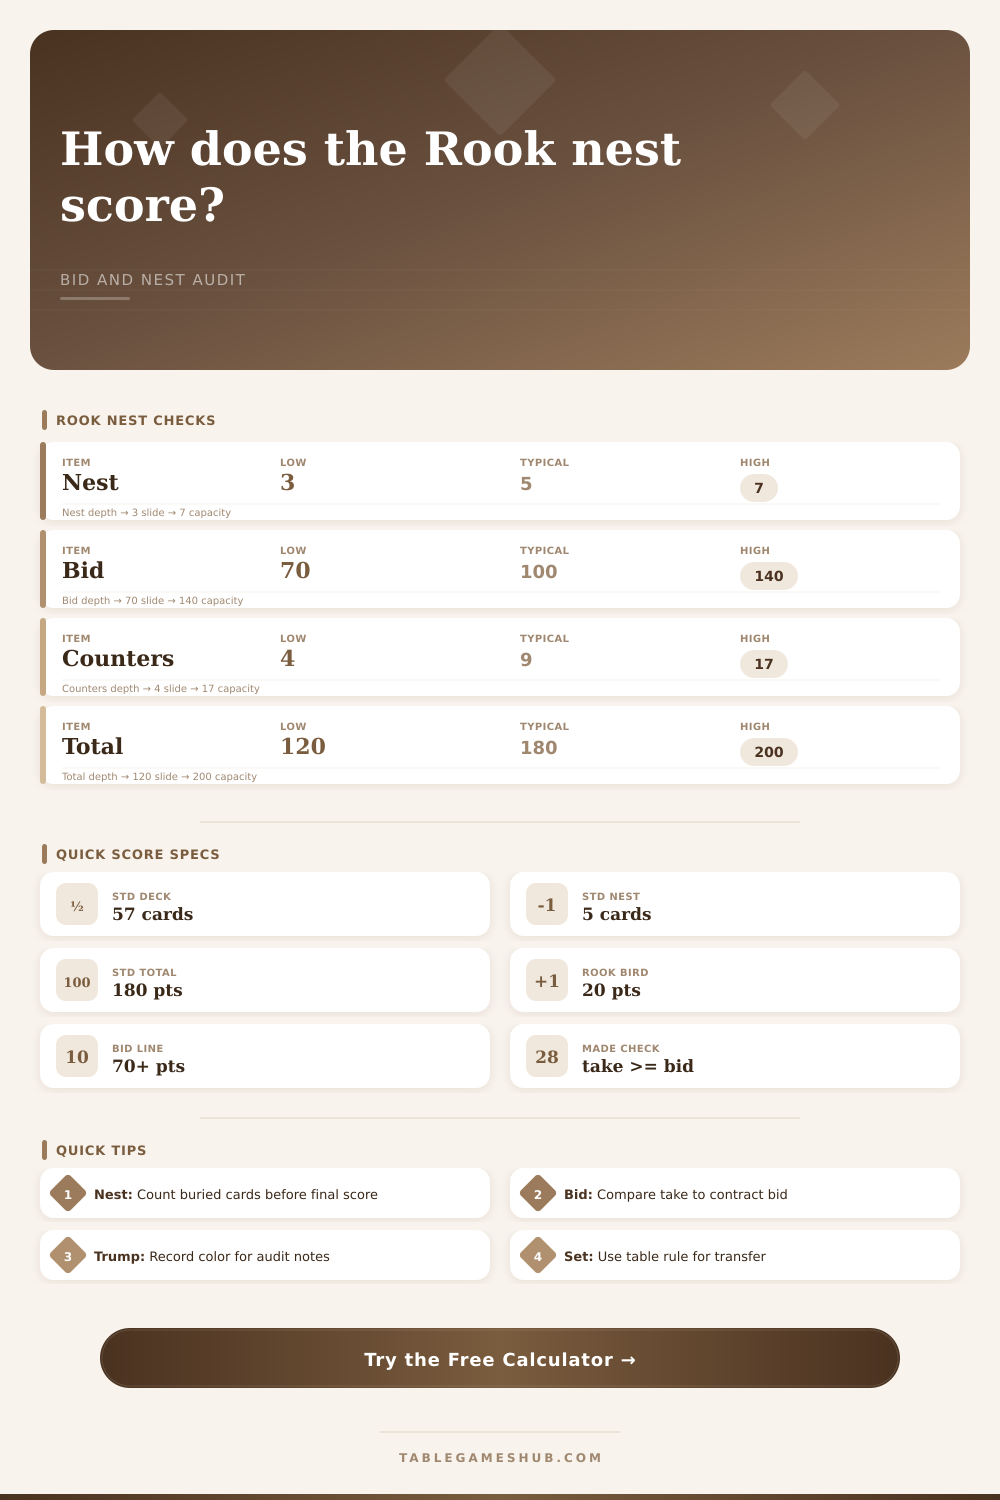
Estimate Rook nest value, compare a bid to captured point cards, track trump color, audit counters, and show how the nest transfers when the bidding team is made or set.
| Rule Set | Total Points | Point Cards Counted | Nest Logistics |
|---|---|---|---|
| Common 180-point deck | 180 points | 1s, 5s, 10s, 14s, Rook bird | Often a 5-card nest picked up by the high bidder, then buried before play. |
| Kentucky-style 120-point deck | 120 points | 5s, 10s, 14s, Rook bird | Commonly uses a smaller scoring total while keeping the nest as a contract risk. |
| House 200-point sheet | 200 points | Expanded counters by agreement | Useful for groups that add bonus counters or score extra high cards. |
| Compact 100-point count | 100 points | Reduced point-card schedule | Best for short score sheets where every hand is normalized to 100 points. |
The calculator treats the rule set as a scoring sheet, not as a rules lesson. Match the point total to the table before entering the bid.
| Counter Type | Common Value | 180-Point Count | Counting Note |
|---|---|---|---|
| Rook bird card | 20 points | 1 card | Usually the highest trump and a major nest swing when buried or captured. |
| 1 cards | 15 points each | 4 cards | Included in many 180-point score sheets and excluded in some 120-point sheets. |
| 14 cards | 10 points each | 4 cards | Count as high-card counters in common Rook scoring. |
| 10 cards | 10 points each | 4 cards | Track carefully because they are easy to miss during trick sorting. |
| 5 cards | 5 points each | 4 cards | Small counters can decide whether a close bid is made or set. |
| Plain suit cards | 0 points | 39 cards | They affect play and trick control but do not add to the point-card total. |
| Transfer Rule | Bidder Score Effect | Defender Score Effect | Use When |
|---|---|---|---|
| Bidder keeps buried nest | Add estimated nest points to bidder take | Defenders receive remaining points only | The high bidder picks up the nest and buries cards that still score to the bidder. |
| Last trick gives nest to bidder | Add nest points if bidder won the last trick | No nest transfer to defenders | Your score sheet awards the nest to the last trick and bidder won that trick. |
| Last trick gives nest to defenders | Remove nest points from bidder take | Add nest points to defender transfer | Defenders won the last trick or your table awards the buried stack away from bidder. |
| Nest not counted | No nest points added | No nest points added | Review-only counts where the nest is held aside or already included elsewhere. |
| Set adds nest penalty | Made: keeps nest; set: loses bid plus nest estimate | Defenders receive visible remaining points | Strict house scoring punishes a failed bid for buried counters. |
When your group counts the exact nest after the hand, replace the estimate by entering the final point-card total before choosing the matching transfer rule.
| Preset | Bid / Trump | Nest Setup | Score Focus |
|---|---|---|---|
| Standard 5-card nest make | 100 bid, red trump | 5-card nest to bidder | Shows a typical successful contract margin. |
| High bid, thin nest | 135 bid, black trump | 5-card nest with low expected value | Highlights a narrow made-or-set line. |
| Defenders win last trick | 95 bid, yellow trump | Nest transfers to defenders | Shows how a last-trick transfer can set a bidder. |
| Rook bird buried | 120 bid, Rook high trump | 7-card nest on a 180 sheet | Displays a larger hidden-point estimate. |
| Kentucky 120 contract | 85 bid, green trump | 5-card nest on a 120 sheet | Uses the lower total-point schedule. |
| Set with nest penalty | 125 bid, red trump | Penalty transfer on a failed bid | Separates bid loss from nest penalty. |
In Rook, the real tension is never found in your own hand. Instead it’s found in what you’re not holding. Those cards are waiting in the nest, face down, ready to change the direction of the game. That buried stack is Rook’s wild card. It provide the points that can save a shaky bid or bury an overconfident team.
The only issue is that most groups play by house rules that vary wildly from table to table. Some groups adds the nest points to the bidder automatically. Others wait to see which team won the previous trick before granting those secret values. Still others punish the bidder if they fail to make their contract, adding the nest value to there loss. The calculator on this page does the math for all of these variations. Stop arguing and get out there and play.
How to Calculate Rook Scores
The second thing is knowing what’s in the nest. How many cards are there realy? A five card nest is typical. But those five cards might all be low value plain cards, or they might have some high value counters in them like a twenty point Rook bird. Those two situations would yield very different bids from you. Knowing how much a nest is worth is critical; if it’s a weak nest, your bid should be conservative, but if it’s a thick nest full of high value counters then you can go in aggressive.
The tool will estimate how much point density a nest has in it based on standard distributions, taking into account the number of cards in the nest and what rule set you’re using. It’s not guessing; it gives you a baseline.
The next part? The bid. Here you put down how much your team is committing to capture. This is your line in the sand. One-hundred if you commit to one-hundred. Reach it you must.
And how do you reach it? Well, that’s up to you. What did you capture while playing? That’s not the question. What happened after the nest was taken is the question. This is where the transfer rule kicks back in. On some tables, the nest goes to whoever won the last trick. On others, the nest always go to the bidder. On still others, the nest doesn’t matter and is treated as a bonus or penalty outside of the main capture. With this calculator you can choose exactly which rules you follow so that final score is what you actualy agreed upon and not based off some made-up generic standard.
Another good thing to get in the habit of tracking is the trump color. While it doesn’t change the math itself, it does help with the audit. If you know that red trumped, then you can more easily remember what happened on some key tricks, such as who most likely won. Or perhaps if the Rook bird was played early or held late. It adds context to the score.
After the hand is over, you input how many points your team took into the nest prior to opening it. Then the calculator looks at the raw take, compares it to your bid, then applies the nest transfer rule you chose. Does the nest remains with you? Was it awarded to the defenders because they won the final trick? Was there a penalty based on a failed bid that added the value of the nest to your loss? The result is displayed as an adjusted take along with status of the final contract.
The problem isn’t that the math is wrong; it’s that the rules aren’t clearly stated. Define the rule set up front and you avoid ambiguity. There will be no more arguments over defender points vs bidder points in a nest. Just check out what happened.
The page breaks down the various scoring variations (including the popular one hundred eighty point deck and the Kentucky one hundred twenty point count) into reference tables. It shows you the value of each point card in any given system. That way, if you’re traveling and playing with people whose preferences differ than yours, you know where they stand.
What’s that? The secret? Count the nest last. Don’t include those cards in your trick pile. Separate them from your other cards. First capture the counters, then count them. Have a firm number of the ones you absolutely know you have. Next add in the nest. That’s how you get it right. And it’s quicker too. No need to pause after each trick to debate where some card got hid. Play the hand. Count what you took down. Use the tool to finish the job.
Rook is an arithmetic and memory game at its core. And then there’s the nest that makes it all interesting by changing one of those variables. Before anyone has placed a single bet, they’re already considering risk versus reward. Do I want to go high, in case the nest saves me? Or do I want to stay low, in case the nest sinks me? Once you have a good method for calculating that risk, the game shifts from being about luck to being about strategy. You no longer guess; you now know. That’s how you transform a crazy card night into a fair and clean score.