Quadropolis Architect Calculator
Map an Architect number to the construction site, check the Urbanist block, count legal city lanes, and estimate the resource and scoring swing of the drafted tile.
| Move Element | What To Count | Classic Use | Expert Use |
|---|---|---|---|
| Architect number | Nth construction-site square from the chosen edge | #1 to #4 | #1 to #5 |
| Edge and line | North/south choose a column; west/east choose a row | Four city lanes are legal for placement | Five city lanes are legal for placement |
| Urbanist | Exact site square the Architect points toward | Blocks the move if targeted | Blocks the move if targeted |
| City placement | Matching row, matching column, or matching stack floor | Tower stacks are the common floor check | Office towers add more floor pressure |
| Building | Activation Need | Resource Timing | Calculator Context |
|---|---|---|---|
| Tower Block | 1 energy for the stack | Provides inhabitants on many tiles | Towers or height = resulting floors |
| Shop | 1 energy plus customer inhabitants | Customers can be reassigned before final scoring | District/run = intended customers |
| Public Service | 1 inhabitant | Printed VP counts only when activated | District/run = covered districts |
| Park | No activation token | May absorb one excess energy | Towers or height = adjacent towers |
| Factory | 1 inhabitant | Often supplies energy when drafted | Shop/harbor links = adjacent targets |
| Harbor | 1 inhabitant | May add mixed resources or printed VP | District/run = row or column run length |
| Building Family | Placement Pressure | Score Driver | Common Miss |
|---|---|---|---|
| Tower Blocks | Same row/column or matching floor number | Stack height if powered | Saving energy for a later, taller stack |
| Shops | Need space and enough inhabitant customers | Customer count at final allocation | Overfilling shops before public services are active |
| Parks | Best near powered tower blocks | Orthogonal tower adjacency | Counting diagonals as adjacent |
| Factories | Want orthogonal shops and harbors | Commercial and harbor adjacency | Taking energy but lacking one inhabitant |
| Harbors | Prefer row or column chains | Longest planned run plus printed VP | Splitting harbors across weak lanes |
| Public Services | Want district spread rather than clustering | Number of city districts represented | Missing activation on a printed-VP tile |
| Preset | Best For | Main Constraint | Logistics Question |
|---|---|---|---|
| Architect 1 Corner Shop Crowd | Small-number edge picks with a shop ready | Enough inhabitants after energy | Can the shop score without starving services? |
| Architect 2 Tower Stack Floor | Building upward instead of taking a fresh square | Matching floor number and energy | Is the stack better than keeping lane space open? |
| Architect 3 Park Pocket | Park between two or more tower blocks | Orthogonal adjacency only | Will the park also absorb later pollution? |
| Architect 4 Harbor Run Push | Completing a long row or column harbor line | One inhabitant and exact lane access | Does the Architect number force the right city lane? |
| Urbanist Blocks Target Tile | Testing a denied tile before committing | The Urbanist on the pointed site square | Which alternate edge still reaches useful placement? |
A key part of playing Quadropolis is that sometimes you draw tiles that look great on paper, but aren’t possible to build out based off your current board configuration. So maybe the tile has lots of points, but there’s no physical way for you to build out the space because of where else you have buildings. Maybe you need to use the architect pawn which points at a square that’s already covered up with someone else’s building. Or perhaps the square it points at is already occupied by one or more of their towers. Geometry matter more than desire.
This is one of those games where planning comes down to math and not just whimsy. With the calculator tool, you can decide whether a tile is legal before committing to it.
Why Math Matters in Quadropolis
So what is the main point of the game? What is the tension about? Drafting a tile vs. Placing it
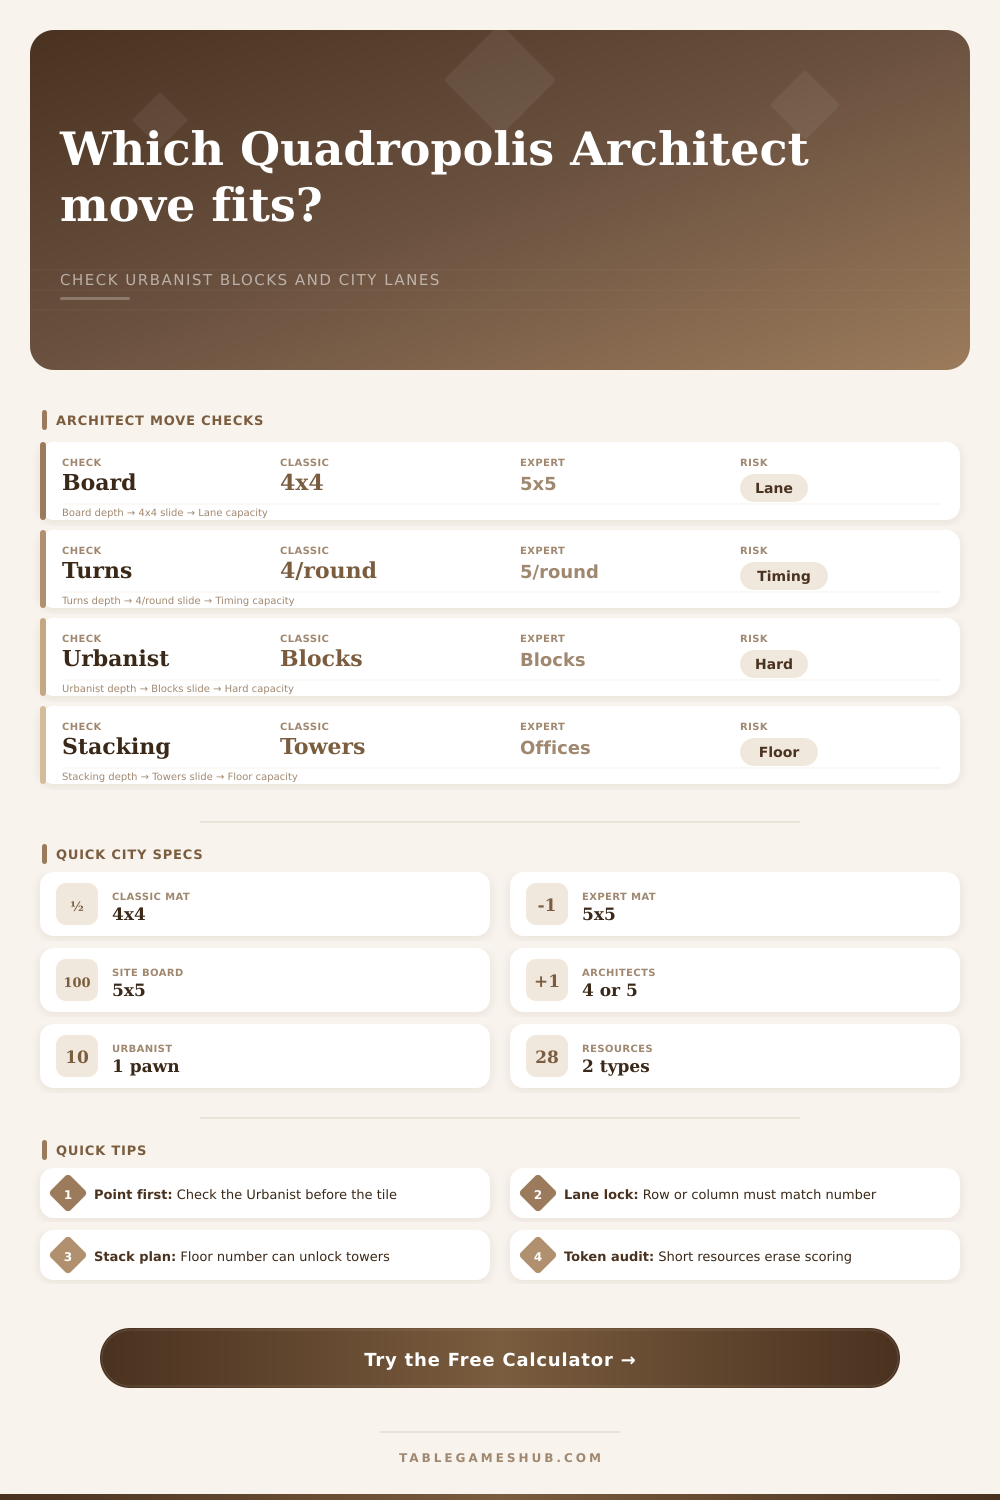
Typically, the first half of your turn are spent drafting tiles, typically for resources or points. Often, you don’t think about where that tile will go on board yet. During the second half of the turn, you lose that flexibility to place tiles. Every Architect move is defined by two numbers: the pawn value, which determine the distance from the edge, and the edge itself, which determines whether you are targeting a specific row or column.
For example, if you choose the North edge Architect 3 then you’re stuck in third column. If that column contain the Urbanist, the move fails. That’s a strict restriction that doesn’t take into account the lost VP chance. I believe many losses comes down to not checking the Urbanist’s location prior to picking an Architect number.
To understand how scoring works, think of the city mat as a grid of potential. Your flexibility is measured by the number of available squares in a given row or column you enter. Three open spaces mean options. One open space means you’re up against three opponent for that square. It turns the abstract concept of lane competition into a concrete probability of success.
Can I complete a valuable run by placing my Harbor? Or does it just fill a square where something more versitile will come later?
Resources make matters more complicated. In addition to being resources you need, Energy and Inhabitants is keys to unlocking the buildings you’ve drafted. Without Energy to fuel them, a Tower Block is nothing but an eyesore. Without Inhabitants to shop at, a Shop becomes more of a hindrance different than a help. After drafting, the game’s calculator needs your pool of resources, putting players on notice to think one turn ahead. Do I stockpile Energy for a massive pile of Towers? Or do I spend tokens to wake up my slumbering Factories and Parks? It’s tempting to ignore the fact that a tile that provides resources could still cripple your board by preventing you from waking up what you have.
With the addition of an extra column and row in Expert, things change. There are also Office Towers which will stack on certain floors. There is more decision space, but with greater punishment for mistakes. You can often brute force a placement in Classic. Maybe. It is not so much in Expert. You need precision.
See the difference the extra dimension make in terms of lane availability here. Don’t trust your habits. Think about if the extra reach of Architect 5 would of worth risking blocking a square. It is a small but important detail.
In Quadropolis, patience wins out more then aggressiveness. Those that have made their moves well will be victorious. Who has counted the open lanes? Who has checked off on the Urbanist? What about resource allocation? Your placement should match your resources.
The calculator reflects back at you the board state and helps you see where you may have missed something. It transforms the chaotic draft into a defined plan, it’s a tool for making the move but doing so with complete awareness. The board doesn’t lie, and the Urbanist remains ready.