New York Zoo Animal Breeding Calculator
Estimate how many animals your current pairs can create, whether the pens can hold them, and how much final board coverage you can still claim with houses and attractions.
1Presets
2Breeding Inputs
3Reference Tables
| Preset | Focus | Best Signal |
|---|---|---|
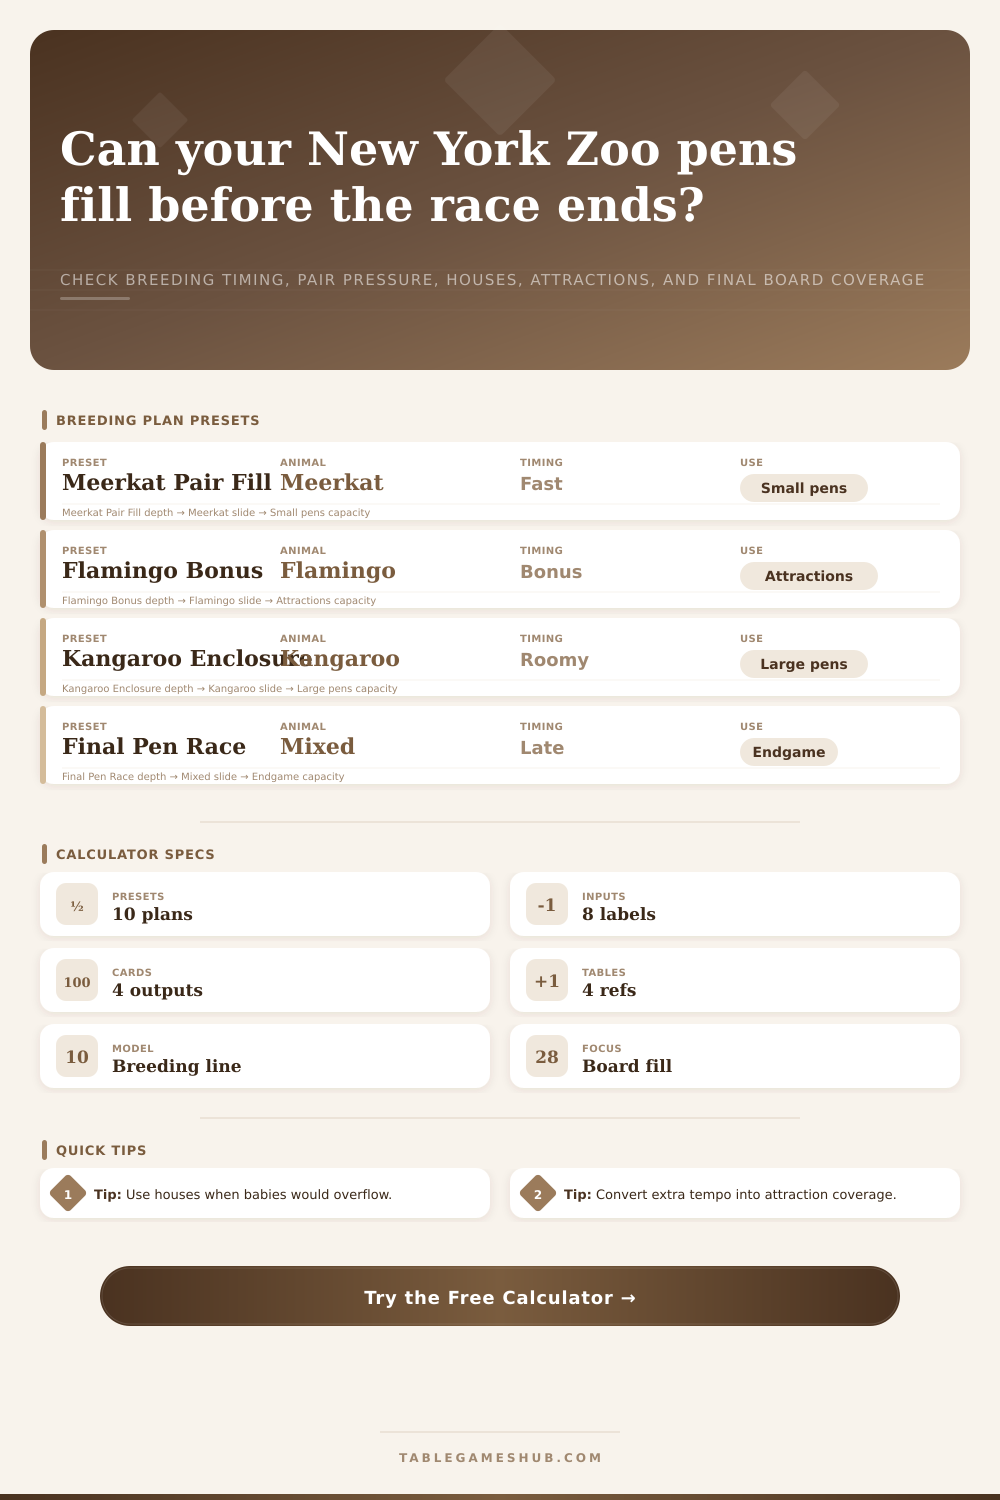
| Meerkat Pair Fill | Fast babies | Good when small pens have open slots. |
| Flamingo Bonus | Bonus timing | Strong when attractions cover awkward gaps. |
| Kangaroo Enclosure | Large pen | Needs space before the breeding icon arrives. |
| Final Pen Race | Endgame | Use when board coverage matters more than surplus. |
| Animal | Tempo | Planner Note |
|---|---|---|
| Meerkat | Fast | Pairs fill compact pens quickly. |
| Flamingo | Flexible | Often pairs well with attraction timing. |
| Kangaroo | Room hungry | Leave pen slots open before breeding. |
| Elephant | Slow | Great only when the enclosure is prepared. |
| Signal | Calculator Role | What It Means |
|---|---|---|
| Enclosure spaces | Main limit | Caps how many babies stay in pens. |
| Animal houses | Overflow | Turns excess breeding into usable coverage. |
| Attractions | Board fill | Converts tempo into empty-space coverage. |
| Zoo board spaces | Finish line | Measures how close this plan gets to completion. |
| Position | Timing Read | Use |
|---|---|---|
| 0-1 | Immediate | Make space now and avoid overflow. |
| 2-3 | Near | Plan one enclosure or house pickup. |
| 4-5 | Delayed | Build attractions while waiting. |
| 6 | Far | Use only if turns remaining are generous. |
4Spec Grid
5Tips
In New York Zoo, you’re not trying to stockpile animals so much as fill out the board. That’s important because breeding creates pressure while placing animals earns points. Sure, you could be sitting on dozens of enthusiastic meerkat couples chomping at the bit to get a house, but what good is it if you don’t have a spot for ’em? Every decision require some kind of balancing act between making babies and finding room for ’em. Knowing how to do that is what distinguishes between casual player and the one who always ends up scoring big and having a coherent strategy behind their decisions.
The second factor is when they breed. Different species breeds at different speeds; some fill out their small enclosures quickly, provided things click into place, while other animal are slow burners that require patience and careful setup. Quick animals include meerkats; get them in a small pen with an appropriate mate and sometimes that’s all it takes. One turn of the wheel and they’re full. Slow burners like elephants requires patience and careful setup long before they actualy produce offspring.
Balance Breeding and Space
To see the pace of each animal, enter your current generation on the breeding line into the calculator above. That will show you how many rounds away you are from tripping the birth switch. If you’re early on the line, then you’d better make sure there is still empty space available on board, otherwise you might find yourself scrambling to add attraction or free up space ASAP. If you’re way down the line, you’ve got time to grab some spots or construct some attractions before you worry about overflowing your enclosures.
That’s why most plans fail due to lack of capacity. Sure I got three pairs prepared, but my pens only hold seven.” Babies exceeds space and math is cruel. That’s what the animal house structures provide; they’re your pressure valve, soaking up the overflow whenever you reach maximum occupancy in your major enclosures. Otherwise, you just sit there with empty hands (and wasted breeding opportunities).
This is accounted for in the tool, since you can configure the number of houses that you’ve set up. When your main tanks are packed, those structures converts otherwise-wasted points into actual coverage. Your board remains active. Even though your main tank space is limited, you don’t let any points slip through the cracks. It is a small thing, but it keeps frustration from creeping in when you watch points fall through the floor because you simply didn’t have enough space.
In the late game, attractions has another use. After filling out your houses and pens, it’s time to fill in the blank spots on board as quickly as possible. Since attraction tiles don’t take up any animal slots, they’re perfect for filling gaps where you can’t fit any more animals.
The last step of the plan is how much space you cover on the board compared to the number of turns you have left. This board coverage percentage shows how close you are to finishing off your zoo given the number of turns you still has. High coverage and few remaining turns = good position to win. Low coverage but lots of breeding potential = poor match between your placement and production strategy.
One mistake is chasing pairs without thinking about space. People forget that your enclosure have space limits and assume they can add more later. In reality, board control is competitive. If your neighbor has taken up the surrounding tiles, your choices quickly becomes limited. Timing bands are listed clearly on the page, along with reference tables that explains which animals work well for slow builds vs fast paced play. Presets may be used to try things out before committing to a particular animal type when actualy playing.
The trick is to balance the ebb and flow between creating and placing them. The breeding produces the goods; space management transform the goods into points of victory. It’s impossible to predict the date you’ll produce babies, but it’s possible for you to determine where they will land. Match your breeding line slot with empty spots in your enclosures and backup houses to get the most out of your setup and reduce risk. You should of monitored that coverage percent as the game progresses. More unborn animals aren’t better than a full board, and this is the whole point of the exercise.