Hallertau Field Calculator
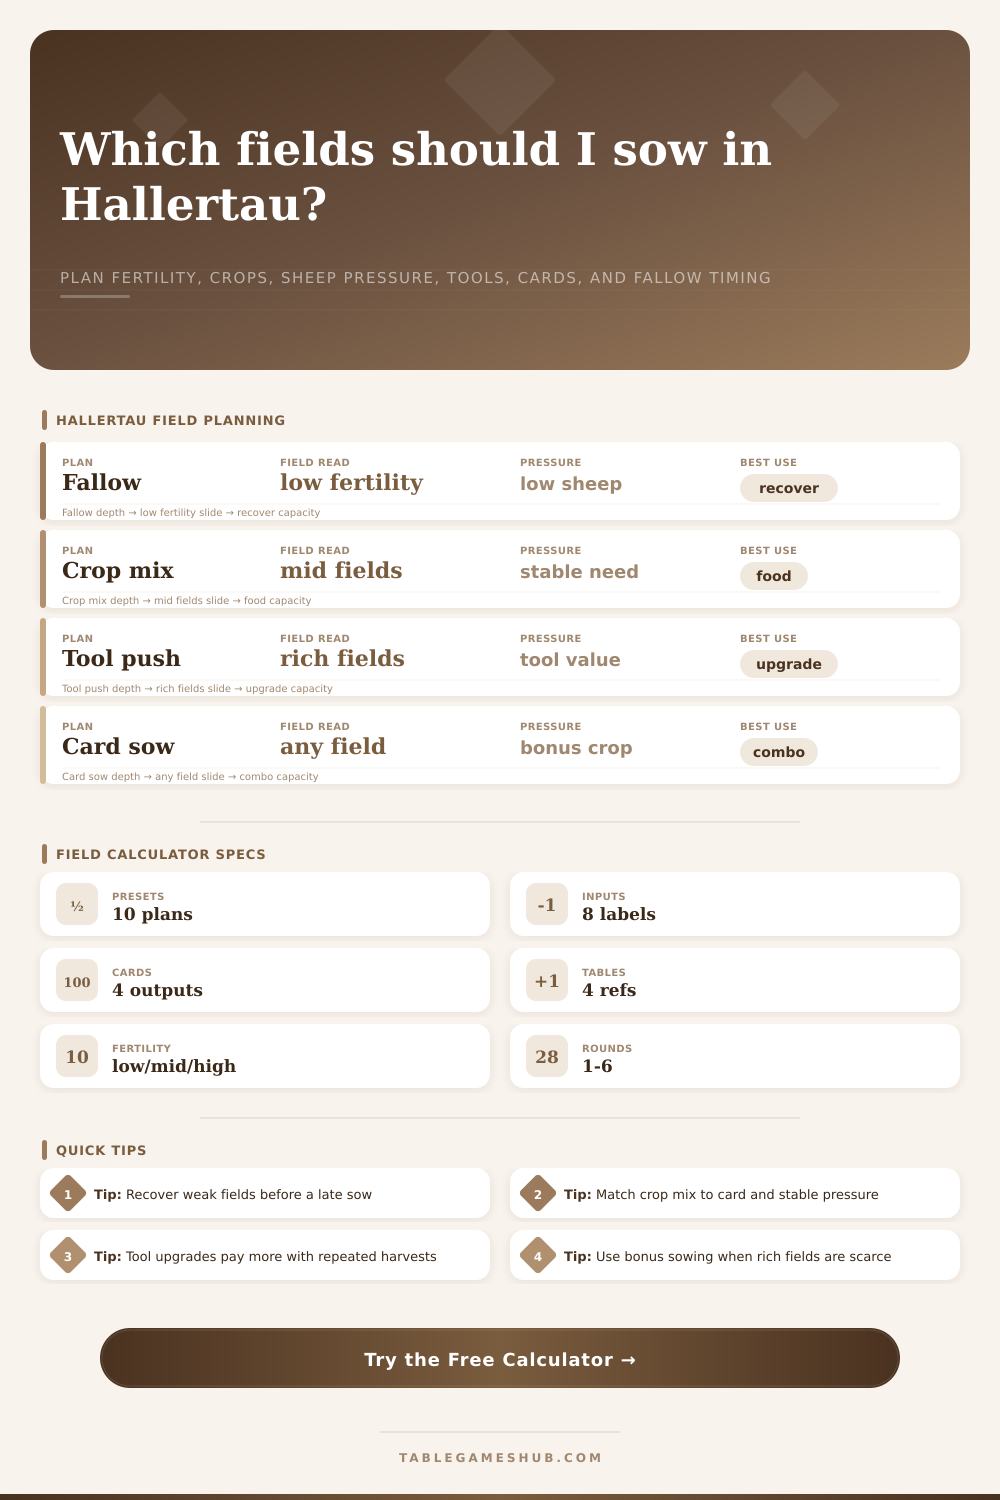
Estimate which field plan gives the best crop tempo after fertility, sheep pressure, tool upgrades, card bonuses, fallow actions, and remaining rounds.
Enter field counts as low / mid / high fertility. The calculator values immediate harvest, future fertility recovery, sheep and stable pressure, and whether tools or cards make a sowing line worth pushing.
1Presets
2Inputs
3Reference Tables
Fertility Weight
| Band | Value | Use |
|---|---|---|
| Low | 0.55x | recover |
| Mid | 0.85x | sow if needed |
| High | 1.15x | main crop |
Crop Bias
| Crop | Factor | Read |
|---|---|---|
| Grain | 1.00x | steady |
| Hops | 1.12x | high value |
| Flax | 1.06x | card friendly |
| Mixed | 1.04x | flexible |
Pressure Drag
| Pressure | Penalty | Signal |
|---|---|---|
| Low | 0 | free timing |
| Medium | 2 | watch stable |
| High | 4 | crop must pay |
| Urgent | 6 | solve now |
Fallow Boost
| Action | Boost | Timing |
|---|---|---|
| None | 0 | harvest now |
| One | 2 | small reset |
| Two | 4 | next sow |
| Heavy | 6 | late recovery |
4Spec Grid
5Tips
To start, there’s that one green square in the grid. That seem OK at launch, until you realize you’ve done nothing in two rounds as your sheep starve and your tool levels stall out. Farming in Hallertau isn’t as simple as growing crops; you’re also responsible for managing them, and every time you decide to sowing vs. Fallowing affects not only your economy but also how stressed you are and even where you sits on the board.
Sometimes you realy do want the biggest harvest now, but oftentimes you’d be better off building up your stronger fields for down the road. It’s all about finding right tradeoff for whatever stage of the game you’re in.
How to Play Hallertau Well
This region has one silent currency, fertility. Fertility. Fields with low fertility aren’t worthless, but they don’t pay their way (they eat up your resources and don’t reward you much). If you have the means to help them along, mid-tier fertility fields will provide a reasonable return. Your engines are high fertility plots. When things line up, they produces a lot of grain stock, or some surplus good.
The issue comes when you’ve used those high value lands over and over again, until they’re spent. You leave it bare, thinking “I’m idling my asset,” which is counter-intuitive for an engine builder. But you don’t want to blow out these prime pieces of land later, when you need every point. So you let them recover, instead.
That is why you track fertility bands. The efficiency is fifty-five percent. At best, it is a marginal place to plant, unless there’s nowhere else. Time to get it back to fighting shape, not time to farm it.
Pressure: Stable and sheep. One can force you to hurry your schedule, while the other can keep the grass growing and hungry. If they’re starving, don’t take two bites at a field. Don’t stall on rest periods. Even if it’s your premium soil, eat now or risk not having anything to eat later.
This is where things get tricky. Because stalling out of “not ready” results in fewer points and no way to really make up for those lost points. But rushing past “ready” means you might not have the resources available when you need a specific card play but don’t have the food to make it. You should evaluate the board state. Are you about to complete a box off a community center? Do you want to use the grain ASAP as points, or save it for later to make more bread? How close you are to completing something will help dictate when you plant. Also remember that if there isn’t an urgent need, waiting for perfect conditions might mean you can’t eat for a while if you haven’t planted seeds in the meantime.
Cards and tools muddy things further by altering each action’s baseline value. The higher the tool level, the more it amplifies its yields. So if it is yielding mid-level fertility, it will now seem more appealing because it provides best balance between low output and high cost. Bonus crop/good cards also tip the scale. They let you get more value out of a field you’d otherwise avoid. Two grains might make a marginal field your best play for the round.
Players who only look at raw yield numbers finds themselves misled by intuition. They fail to see the combined boost that makes what looks like a weak option actualy superior. Knowing the multipliers lets you know when to hold back; and when to go all in. This gets mathy fast (hence why I made a calculator), particularly if you consider the remaining rounds.
If you’re in the early game, it matters more what happens later on than today’s point total, so there’s time to slowly catch back up on fields without feeling too much pain. If you’re deep into the late game, each missed round stings. You can risk sacrificing fertility for points if you are doing well and want that one card trigger, or if you are running low on everything and need to stabilize quickly.
Once you plug your numbers in, how many fields do you have? How much pressure do you currenty feel?… The calculator will run those numbers for you and spare you from the headache of weighing fertility regain vs. Stable needs. It’ll help you see if it’s worth it to push that tool upgrade now before the end of the game, or if you just need to hold out and focus on basic sowing until you’ve built yourself some reserves.
Hallertau isn’t a game of perfection. In fact, the key to successful Hallertau farming is rhythm. Perfect fields every round aren’t possible (and they’re not worth it anyway); they cost too much opportunity in other places on the board. Sometimes you need to push aggressively outward into new fields; sometimes you need to pull back and restore. Knowing which action to take at the right time distinguishes a casual player from one who routinely climbs the leaderboards.
Look first at your weakest link (depleted soil or starving sheep). Plan out two steps ahead so whatever you do next doesn’t undo previous step. Panic tomorrow: good planning today. Keep your sheep fed, keep your squares green and your strategy whole right through until the final harvest.