Hadara Card Cost Calculator
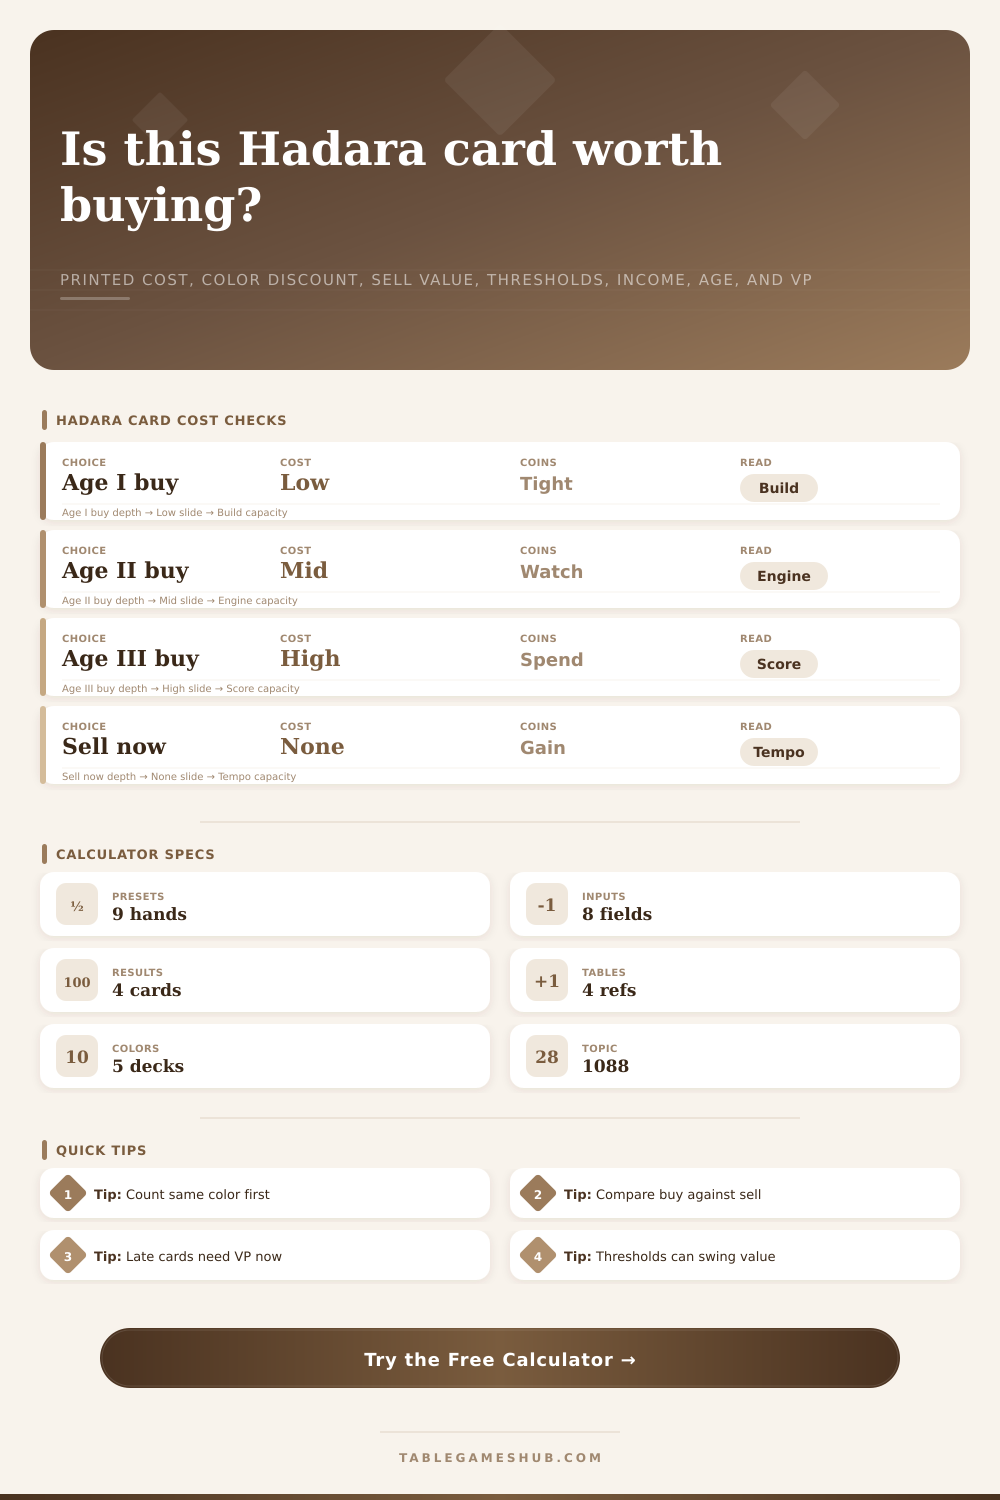
Compare one recruit choice against selling it by combining printed card cost, same-color discount, sell value, available income, threshold unlocks, endgame VP, and age timing.
| Card color | Common track read | Cost signal | Recruit question |
|---|---|---|---|
| Yellow income | Coin flow and economic timing | Earlier buys can fund later cards | Does this improve the next income phase? |
| Red military | Military pressure and colony access | Thresholds can be decisive | Does the card unlock a colony or prevent falling behind? |
| Green food | Food check stability | A rescue card may beat raw VP | Does this avoid losing people during food checks? |
| Blue culture | Culture and medal reach | Medal timing can justify a high cost | Does it finish a medal step this age? |
| Purple prestige | Endgame scoring and flexible value | Late points must be efficient | Does the printed VP beat the sell tempo? |
| Age | Cost pressure | Sell pressure | Calculator bias |
|---|---|---|---|
| Age I | Low printed costs, low discounts | Selling can set up economy | Allows engine value to matter |
| Age II | Mid costs with useful discounts | Tempo matters when buying chains | Balances score and flexibility |
| Age III | High printed costs, high discounts | Coins have fewer turns to cycle | Rewards immediate VP more |
| Any age | Cost cannot drop below zero | Sell value is an opportunity cost | Shows the gap before judging |
| Threshold unlock | Added value | Best timing | Why it matters |
|---|---|---|---|
| Income phase safety | 3 comparison VP | Age I or II | Future buying power can compound. |
| Food check save | 5 comparison VP | Before food checks | Keeping cards is better than repairing losses. |
| Culture medal reach | 7 comparison VP | When a medal is close | A threshold can outscore the card itself. |
| Military colony reach | 6 comparison VP | Before colony selection | Access can beat a modest printed VP value. |
| Two-track combo | 8 comparison VP | Age II or III | Multiple tracks can justify a costly recruit. |
| Net cost | VP target | Sell gap read | Decision cue |
|---|---|---|---|
| 0 to 1 coins | Any useful VP | Usually small | Buy unless selling solves a larger shortage. |
| 2 to 4 coins | At least 4 to 7 VP | Check opportunity cost | Buy when a threshold or route supports it. |
| 5 to 7 coins | At least 8 to 12 VP | Large tempo gap | Prefer clear scoring or immediate unlocks. |
| 8 plus coins | High VP or major unlock | Selling may be cleaner | Buy only when it finishes a strong line. |
This is Hadara. A four-coin card sit in front of you, across the table. Already, you’ve got three cards of that color on your board. The math is cheap.
But don’t you want to think through what would happen if you sold the card? If that moment of hesitation isn’t where you lose the game, then this is how you win games. Not by the printed-in-costs found on back of the card. You win by the opportunity cost buried inside the sell price and when those moments of cash flow will hit.
How to Win at Hadara
Once you set your discount levels, plug in your age, and let the calculator do the math for you, you gets to focus on watching your opponent rather than trying to do the numbers yourself.
Newbies get tripped up by color discount system: each card you have in a given color make subsequent cards in that track cheaper by one coin. A card which initialy costs six coins in Age I could go down to two (or even nothing) by Age III if you double-down on that path early on. Because of this, the game get exponentially more rewarding for early investment.
A single card isn’t just about earning points. It’s also about gaining flexibility and efficiency later on. If you neglect the discount, you will undervalue your own ability to recruit cheaply. At the same time, you will overvalue your opponent’s engine.
Beyond just playing the game, cards can be sold as well which add an additional layer of strategy that not all players notice. Each card has some sort of resale value, which is usually the printed cost minus X. When you use the discounting price to hire a card, you lose the coins you would of earned from having sold it. You are losing buying power and momentum right away just to get something fixed on the board.
In Age I with lots of turns remaining, tempo isn’t as important than coins will eventually come back around during your income phase. Age III features fewer rounds to turn resources into VP, so every coin matter more. Even if a card seems appealing, it may be better to sell it if its net cost is too great late in the game.
Raw point counts also don’t take into account thresholds. There may be other variables beyond the printed victory points of a card which can be worth much more than those points. For example, you can reach a safety margin with your food checks. You might also unlock a colony. These can offer large benefits beyond the card itself.
You can assign them some loose value and determine whether it makes sense to spend the coin for the strategic advantage. Keeping my people alive is worth more than the value on a card. This is especially true when it comes to protecting my income and keeping my business running, while that seems like a minor thing in the moment, it can make all the difference in maintaining long-term stability.
Ultimately, which track are you prioritizing? Yellow income cards creates an engine supporting all other spending. Red military cards defend against losses and expand your empire. Green food cards sustains your life. Purple prestige cards provides many different late game points. Blue culture cards pursues medals. Pick whichever one is most important to you.
While there’s not a right answer for everyone, good players branch out early to maintain flexibility. Then commit big later, when discounts allow them to specialize at last. Trying to excel in all areas will typicaly mean excelling in none.
You must read the cards and also read the board state to decide how to play your cards now. Do I go for short term cash or long term scoring potential? The score calculator lets you look at that tradeoff for just one decision, and it’s a number you can use to test your gut.
Don’t make decisions without checking your assumptions. But know that sometimes the right answer is something you think your opponent isn’t seeing, like their rush to push military while you’re building up an income engine they won’t catch up to in the last round. Patience like that wins games.