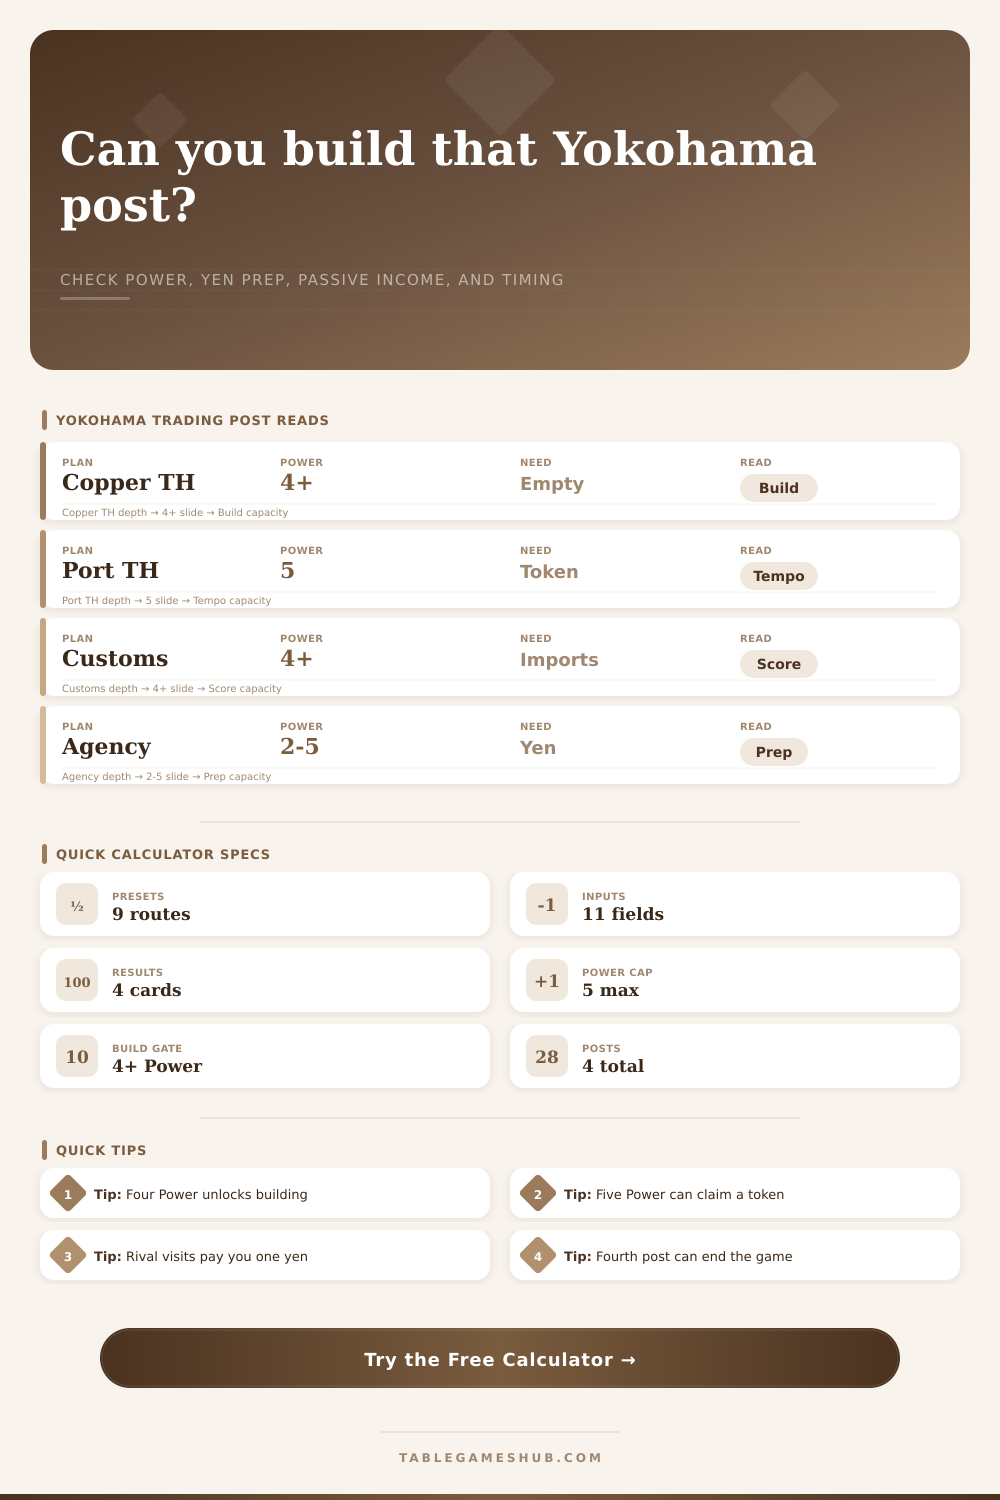
Yokohama Trading Post Calculator
Check whether a Trading House build is live after Yokohama Power, route costs, Employment Agency prep, empty building spaces, 5-Power token timing, and expected rival visits.
Use this for Yokohama Trading Houses, often called trading posts at the table. The calculator treats President, Assistants, Shops, Trading Houses, and the Station token as one Power each, capped at 5.
Trading post calculation
| Rule item | Yokohama value | Trading post effect | Calculator use |
|---|---|---|---|
| President in action area | 1 Power | Always counted when taking the Main Action in that area. | Included automatically in raw Power unless route is blocked. |
| Assistant in action area | 1 Power each | Placed and existing Assistants raise Power, then recover after the action. | Assistants already there plus Assistants placed now. |
| Own Shop on area tile | 1 Power | Can bridge a 3-Power area into the 4+ construction step. | Optional Shop field adds +1 Power. |
| Own Trading House on area tile | 1 Power | Helps future actions but means that same space is no longer buildable. | Blocks a new post if the target status is already yours. |
| Station token | 1 Power | Any player may count it in that area. | Station field adds +1 Power and route value. |
| Power cap | Maximum 5 | Extra pieces above 5 do not improve the printed action band. | Raw Power and capped Power are shown separately. |
| Construction step | 4+ Power | After the area action, build either a Shop or Trading House if legal. | Main build eligibility gate. |
| 5-Power step | Exactly 5 band | May claim the area 5-Power token before building. | Token value adds to the tempo score. |
| Area | Low Power result | 4+ Power result | Trading House note |
|---|---|---|---|
| Copper Mine | 1-2 Power no copper, 3 Power gains 1 Copper. | 4 Power gains 2 Copper, 5 Power gains 3 Copper. | Strong early anchor because rival order engines often need copper. |
| Fishing | 1 Power gains 1 Fish, scaling one per Power. | 4 Power gains 4 Fish, 5 Power gains 5 Fish. | High traffic in order-heavy games makes passive yen likely. |
| Silk Mill | 1 Power no silk, 2 Power gains 1 Silk. | 4 Power gains 3 Silk, 5 Power gains 4 Silk. | Useful when silk orders and country icons are visible. |
| Tea | 1 Power gains 1 Tea, scaling one per Power. | 4 Power gains 4 Tea, 5 Power gains 5 Tea. | Reliable passive post if several players are completing tea orders. |
| Bank | 1 Power gains ¥1, scaling one per Power. | 4 Power gains ¥4, 5 Power gains ¥5. | Pairs cleanly with future Employment Agency Trading House retrieval. |
| Chinatown | 1 Power gives 1 exchange. | 4 Power gives 4 exchanges, 5 Power gives 5 exchanges. | Flexible post when resources, yen, and imports all need smoothing. |
| Church | 1 Power gives 1 Faith before payments. | 4 Power gives 4 Faith, 5 Power gives 5 Faith. | Scoring pressure rises because Church majority is worth 6 and 3 VP. |
| Customs | 1 Power no effect, 2 Power can pay 1 import. | 4 Power can pay 3 imports, 5 Power can pay 4 imports. | Customs majority pressure is higher, with 8 and 4 VP end scoring. |
| Laboratory | Power converts to Production value for Technology cards. | 4-5 Power pays most visible low and mid Technology costs. | A post is attractive when future tech cards or Station support matter. |
| Port | 2 Power can take an Order card. | 4 Power reaches more spaces, 5 Power adds 3 points. | Order markets often create repeated rival visits for passive yen. |
| Component or step | Count or cost | Where it lives | Trading post relevance |
|---|---|---|---|
| Trading Houses per player | 4 total | Start in Warehouse | All 4 built is an endgame condition. |
| Shops per player | 8 total | 2 hand, 6 Warehouse | Shop Power can set up later Trading House builds. |
| Assistants per player | 23 total | 8 hand, 15 Warehouse/scoring | Area Assistants are the main route to 4+ Power. |
| Trading House retrieval 1 | ¥4 | Employment Agency | Needed if first post is not already in hand. |
| Trading House retrieval 2 | ¥5 | Employment Agency | Second post prep often follows Bank or order rewards. |
| Trading House retrieval 3 | ¥6 | Employment Agency | Higher cost raises the need for passive income setup. |
| Trading House retrieval 4 | ¥7 | Employment Agency | Fourth post can trigger endgame, so timing value is high. |
| Passive income | ¥1 per rival action | Area with your Trading House | Converts partly into remainder VP at final scoring. |
| Configuration | Power formula | Best target area | Expected read |
|---|---|---|---|
| President plus 3 Assistants | 1 + 3 = 4 | Any empty Trading House tile | Meets construction but misses the 5-Power token. |
| President, 2 Assistants, own Shop | 1 + 2 + 1 = 4 | Area you already seeded | Efficient build if the Trading House space is empty. |
| President, 3 Assistants, own Shop | 1 + 3 + 1 = 5 | Port, Laboratory, Customs | Can take the 5-Power token and still build. |
| President, 2 Assistants, Station | 1 + 2 + 1 = 4 | Station-supported area | Station turns a lean placement into a legal post. |
| Foreign Agent with 2 Assistants | 2 + pieces = variable | Area without your President | Can act, take a token, and build if Power reaches 4+. |
| Fourth Trading House | 4+ Power plus empty space | High value final route | Triggers the final-round clock after the round completes. |
| Scoring or trigger | Yokohama value | Why it matters | Calculator handling |
|---|---|---|---|
| Trading House endgame | All 4 built | A fourth post starts the endgame condition. | Adds a strong timing bonus and warning. |
| Shop endgame | All 8 built | Rival Shop races can shorten post payback time. | Represented through the timing buffer. |
| Church majority | 6 VP, then 3 VP | Church posts can protect repeated Faith actions. | Scoring plan type increases area value. |
| Customs majority | 8 VP, then 4 VP | Customs is one of the strongest scoring posts. | Customs plan gets the highest scoring multiplier. |
| Technology majority | 10 VP, then 5 VP | Laboratory posts help repeat Technology card access. | Technology plan rewards 5-Power and Station setup. |
| Country icon sets | 2, 4, 8, 12 VP | Ports and Laboratory can combine icons for final scoring. | Order and Technology plans gain extra future value. |
| Remaining yen | Every ¥2 = 1 VP | Passive Trading House income can become final VP. | Shows remainder VP from expected passive yen. |
| Remaining trade goods | Every 3 = 1 VP | Production area posts may add surplus goods late. | Included in area value estimates, not as direct goods input. |
In Yokohama you look up at the board and see your President trapped on the wrong side of the canal. Your eyes dart from one possible Trading House to another and they all appears to be traps. You pull out a calculator which takes into account friction when moving around.
Now you know how many ships to count but what to do with them? Is it worth the yen to build a post in Customs? Or would you rather hold onto resources and try for the Port? It is not simply a question of having enough Power. There’s the question of whether the Board will let that Power actualy mean anything before somebody nabs the space.
How to Use the Yokohama Calculator
On paper it’s easy: Build things by getting four Power in an area. To grab that token first? Get five. In practice, however, it’s brutal.
Where does your Power come from? The calculator breaks it down. Is it coming from raw Assistants? Is it coming from the Station token or from a strategically placed Shop? One of those stay put, while the other returns to your hand once the action is done. That means leaving an area empty for rivals.
Do you really want to go all-in on Assistants? They will return to your hand after the action. Hold out for a four-Power sweep in the Laboratory? Or is that three-Power dip into Fishing worth the copper? Those are questions answered in the reference tables which break down how each area scales based off its power.
A Trading House is a cash cow. It’s also a declaration of your turf. Nowhere else can anyone put wood down once you’ve got this thing down. Does it sits on top of someone else’s? The calculator takes that into account. Once that wood piece goes down, no one else can build there.
It guesses at your passive income. It also guesses how many competing action you think will happen there. Here’s where lots of people screw up. They figure everyone will go to the Port because Orders are so sweet. But what happens when two people fill up the area? Maybe they don’t bother with it just to spare themselves the movement fee and penalty from fighting over it. On paper, putting something in a rarely traveled spot looks like a great deal for its build cost. In practice, nobody ever comes through the door.
Yokohama’s timing matter. Having the Yen, having the Power doesn’t mean squat if you’re the fourth player to move this round. Your President may be blocked by opposing moves, requiring you to cough up more cash or go home empty-handed.
You can also enter route conditions into the tool. This way you’ll know whether your proposed path is possible: it takes foreign agent jumps and canal crossings into account. It then spits out a tempo score that factors in uncertainty. No black-and-white answer here; just a percentage of readiness. Because the state of the board changes quickly from turn-to-turn, that margin is critical. Early in the game, with plenty of resources, a ten percent chance margin may work. But as you look at your third (or fourth) Trading House, each movement point and yen represent points towards endgame scoring.
Then there’s the cost of Retrieving Trading Houses from the Employment Agency. Each time you retrieve them, it gets more expensive. It begins at four Yen, then rises to five, six, and finally seven. That increase mean your initial posts will need to be high traffic anchors that pay off fast. Your subsequent posts could be more speculative. Maybe you want to block out a rival? Or score a bonus? Use the calculator to compare those costs against your remaining amount of cash, so you don’t go broke in pursuit of marginal gains.
It’s a balance between short term use and long term positioning. But Yokohama is also a read-the-board-faster-than-your-opponents kind of game. Building posts is only part of it. Predicting where the value will build is what it’s realy about. This could be at the Port for completing orders, Customs for import control, or the Church for Faith scores. Every place tells a story about how the rest of the table is playing. And the calculator doesn’t do that for you.
Instead, it takes the guesswork out of figuring out financial feasibility and Power thresholds. Once you clearly see the build gate and the net Yen swing, you stop sweating the numbers. Now you focus on the rivalry. Yokohama goes from being a stressful puzzle to one you can manage. It is a tool to verify your instincts, rather than replace them.