Scythe Wind Gambit Calculator
Total a Wind Gambit endgame score with Scythe popularity tiers, stars, coins, territories, resources, structure bonus checks, combat-card posture, airship module pressure, and the selected resolution tile.
1Named Wind Gambit Presets
2Stars, Popularity, Airship, and Map Inputs
3Wind Gambit Spec Grid
4Scythe Reference Tables
| Popularity range | Coin per star | Coin per territory | Coin per resource pair |
|---|---|---|---|
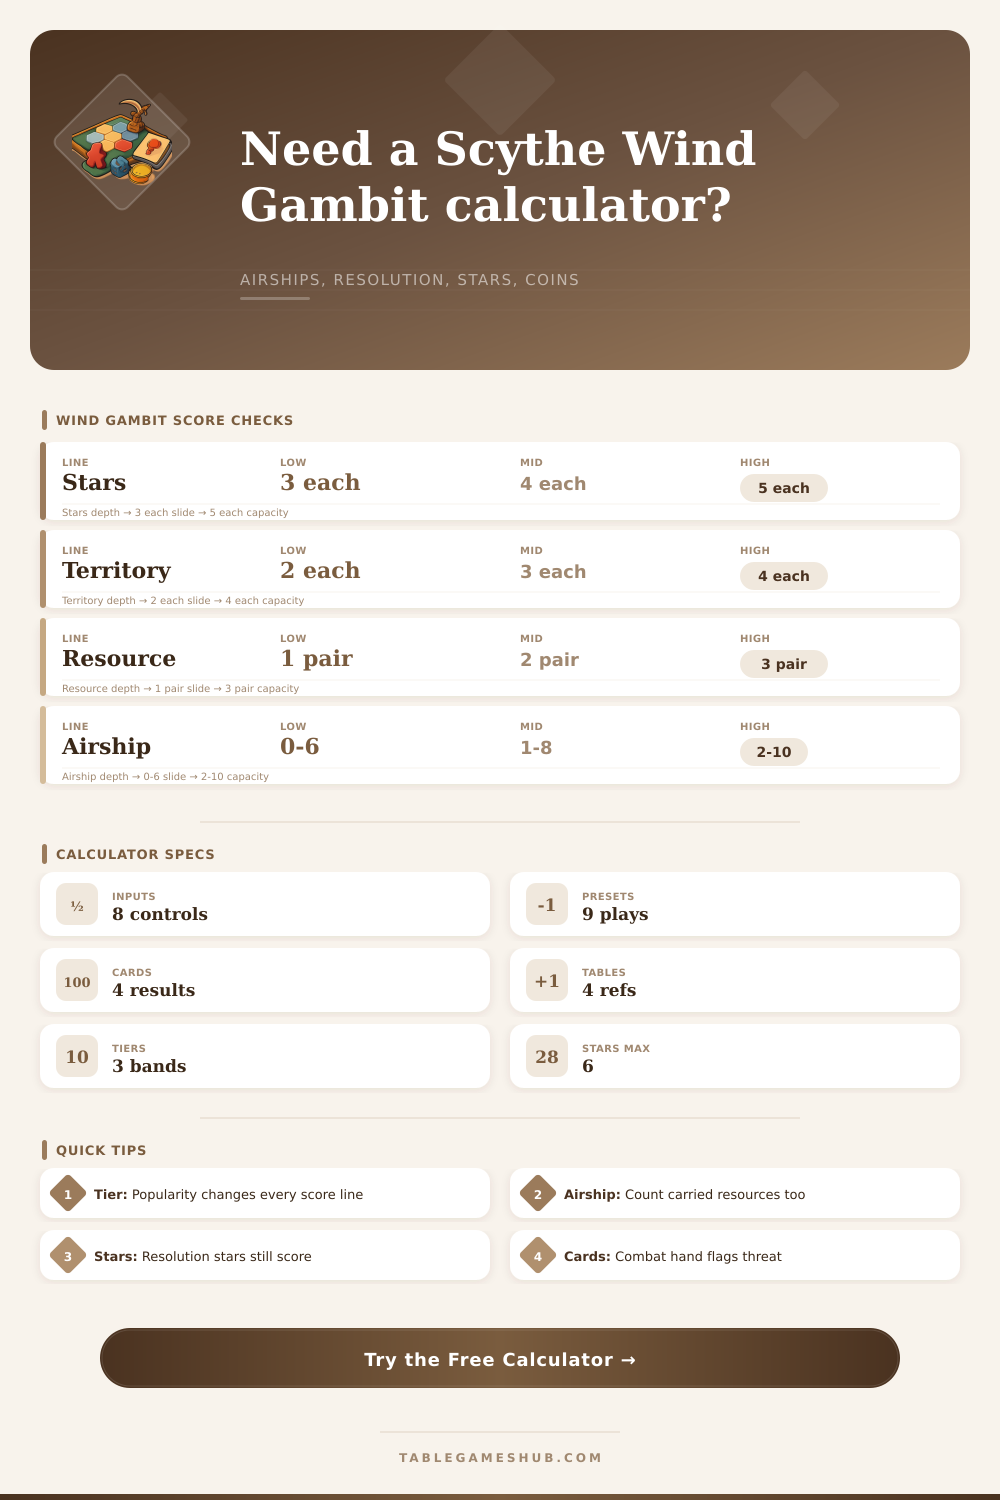
| Tier 1: 0 to 6 popularity | 3 coins | 2 coins | 1 coin |
| Tier 2: 7 to 12 popularity | 4 coins | 3 coins | 2 coins |
| Tier 3: 13 to 18 popularity | 5 coins | 4 coins | 3 coins |
| Tier jump check | Stars are recalculated | Territories are recalculated | Resources are recalculated |
| Airship pressure | Scoring effect modeled | Resource note | Combat-card note |
|---|---|---|---|
| Reap and resource ferry | Strong resource-pair swing when loaded | Carried resources count at scoring | Usually low direct combat pressure |
| Toll patrol over chokepoints | Blocks or taxes resource movement | Can protect a high-resource territory | Raises threat near tunnels |
| Bombard threat near workers | Can reduce worker safety around key territories | Useful before final territory grabs | Flags board pressure |
| Blitzkrieg airship combat | Can create unusual combat-star pressure | Airships still do not control spaces | Combat hand matters most |
| Resolution tile | Endgame pressure | Calculator treatment | What to verify |
|---|---|---|---|
| Doomsday Clock turn cap | Time pressure rises as the clock advances | Adds urgency to territory and resource totals | Confirm the current turn count |
| Backup Plan extra-round check | May give trailing players another round | Flags a comeback risk when score is low | Compare current leader before ending |
| Mission Possible objective finish | Objectives can drive stars outside normal tempo | Weights star count and objective tempo | Make sure objective stars are counted |
| Deja Vu or war track variant | Changes which achievements matter most | Adjusts combat-card warning threshold | Check the active tile before scoring |
| Board line | Input source | Score handling | Endgame reminder |
|---|---|---|---|
| Structures qualifying | structures value in ledger | Multiplies by the selected structure tile pattern | Only structures matching the tile score |
| Territories controlled | territories value in ledger | Multiplies by popularity tier territory rate | Airship alone does not control territory |
| Resources controlled | resources value in ledger | Pairs are rounded down before tier rate | Include resources carried by your airship |
| Combat cards | combat value in ledger | Reports pressure and resolution risk only | Cards are not direct coins in normal scoring |
5Wind Gambit Scoring Tips
Score resources after control is settled: airship-carried resources count for you, but an airship by itself does not control the territory beneath it.
Check popularity before every scoring line: one popularity tier jump changes star coins, territory coins, and resource-pair coins at the same time.
In the end, the final round of Scythe is all about math. The last round often feels more like an audit than a game. An hour has been spent wheeling and dealing for resources, moving armies, and disputing the boundaries of your claimed territorys. Now you’re looking down on a seemingly chaotic board that cries out for arithmetic.
Then the resolution tile flips, and sudden tension hits its peak. It’s here, in this instant, where careful planning replace tactical play. Where instinctual winning becomes account-based winning.
How to Win Scythe with Math
I think most people vastly underestimate importance of popularity tiers vs. Raw expansion in determining their final score. They get caught up in making another move because it makes them look better… As if it were just one more territory. But then they overlook the fact that a single popularity point can shift the worth of each resource-star pairing in there possession. The calculator up there will crunch numbers for you, but knowing how and why these numbers change is what distinguishes a good player from winning player.
And then there’s the quiet multiplier: popularity. This determines how much a given star is worth; three coins? Five? Getting that extra star is only worth it when it make the difference between Tier Two and Tier Three. Because once you’ve got 15 popularity points, all those stars on the Triumph track are suddenly way more valuable then they were when you had just 12. Which is to say, don’t hoard combat cards hoping for a small win if you think doing so will knock down your popularity rating into a lower bracket. One token gained, coins lost on everything else, which is a textbook case of marginal utility masquerading as board game design.
The tool lets you play with that, visualizing what would happen by adjusting the coin rates based off your tier input. You won’t have to remember table, but you should respect the breakpoints.
Adding to all of this, airships are double-edged swords. On one hand, they bring some serious power to the table while playing; on the other, they can hurts you when it comes time to score if you aren’t careful with them. A common misconception among new players is that the area directly underneath an airship counts toward their score. It doesn’t. While it may be under the airship, its still up in the air. What will contribute to your score is anything that happens to be inside your airship (i.e., any resources it carries).
These two factors help a lot when you’re rounding down to get your total number of pairs. That’s why the calculator breaks everything into two pieces: what resources do I have inside my airship? Where else do I have resources? And finally, where else am I controlling? You need to account for all three areas. Otherwise, you might double up or miss a pair or two that are stuck in your cargo hold instead of on the map.
Then there’s the added layer of resolution tiles. For example, some (like Backup Plan) extend the endgame for players who is behind, whereas others (like Doomsday Clock) push you into a faster-paced endgame. This changes how you play the last few turns. Knowing the game might end quickly makes getting your own stars even more important. Or if you think you can play loosely, maybe focus on resource pairs, since those aren’t as much of a priority.
This page breaks it all down in a reference table that classifies the pressure tiles exert on the gameplay. Which ones encourages more aggressive fighting? Which ones reward sitting back and accumulating? That way you can adapt your plan to match before its too late.
Finally, we have structure bonuses which are often overlooked until very end of the game. If you put a structure next to a lake, factory, or mine, you could of found a couple extra coins provided you match the right pattern. It is easy to overlook this while fighting for control of the center of the map. In a close game however, those three extra coins you got off a forgotten lake bonus may be what makes the difference between coming in 1st and 2nd. There are spots in the calculator where you can enter these structural checks as well, don’t leave money on the table just because you didn’t remember to glance around your own board.
So in conclusion, Scythe comes down to Risk vs. Reward across several different axes. No one can be best at all things simultaneously. What sacrifices will you make? Will it be more popular or will it be more dominant in combat? Will it focus on getting the prime territory even if it means giving up bonuses from structures? Every decision has a trade-off. There is no right answer, just answers which are better than others based upon sound data.
If given enough time, you’ll know exactly how well you did when that final bell sounds. That’s what you really want going into that last round, not a guess but a clear view of the scorecard. Numbers don’t lie, but your gut might.