🚀 Star Realms Colony Wars Calculator
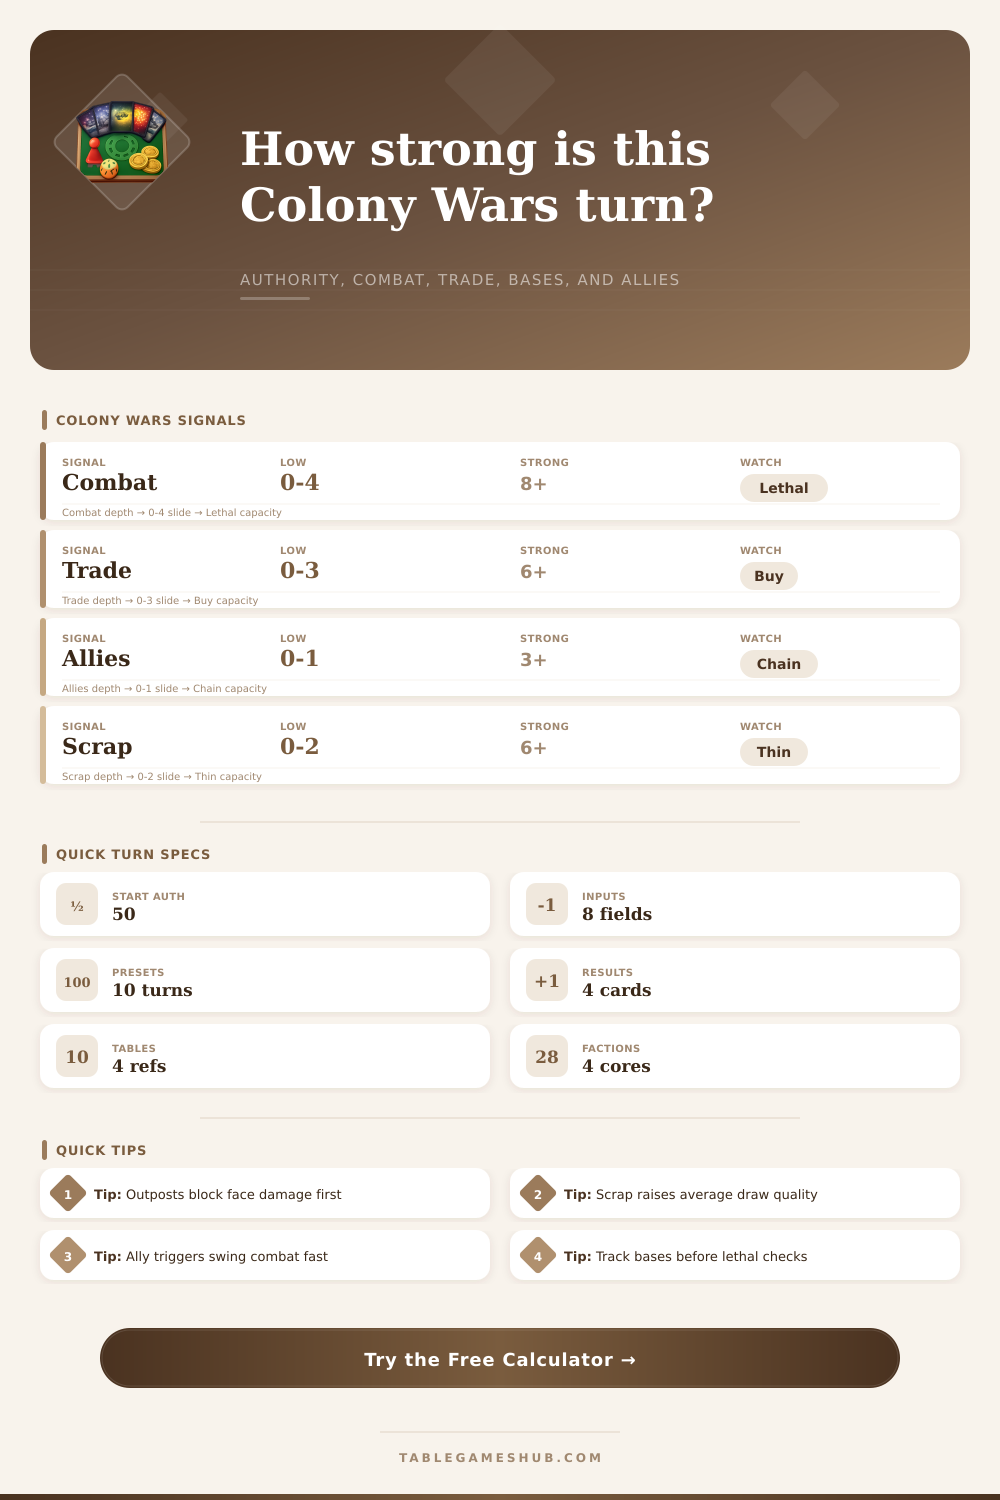
Estimate a Colony Wars turn from authority totals, visible trade, visible combat, bases and outposts, faction ally triggers, scrap thinning, deck mix, and expected face damage.
Each preset fills a recognizable Star Realms Colony Wars board state, then calculates authority pressure, base shields, buy strength, and next-turn damage estimate.
| Deck mix | Calculator modifier | Typical pressure | Best input to watch |
|---|---|---|---|
| Balanced Colony Wars | Baseline combat and trade | Flexible buy or attack turns | Ally triggers |
| Blob-heavy combat | Higher next damage | Large swings after draw chains | Visible combat |
| Machine Cult scrap | Higher density from scrap | Cleaner future hands | Scrap count |
| Trade League mix | Higher buy score and authority cushion | Strong market control | Trade and authority |
| Star Empire mix | Moderate damage plus draw pressure | Stable attrition turns | Ally triggers |
| Base-heavy mix | Lower face damage, better defense | Outpost or base lock states | Base shield |
| Starter-heavy mix | Lower expected next turn | Early game or unthinned decks | Scrap count |
| Faction emphasis | Ally trigger effect | Turn read | Calculator handling |
|---|---|---|---|
| Blob | Combat and draw spikes | Best for sudden face damage | Adds stronger next-damage lift |
| Machine Cult | Scrap, combat, and deck cleanup | Best for long density gain | Scrap count improves future hand estimate |
| Trade Federation | Authority and trade support | Best for stabilizing while buying | Trade mix boosts buy strength |
| Star Empire | Draw, discard, and combat pressure | Best for control plus chip damage | Ally count lifts combat and tempo |
| Board state | Shield estimate | Face damage path | Authority note |
|---|---|---|---|
| Clear lane | 0 shield | All combat can hit authority | Check lethal directly |
| One base | 4 shield | Optional base removal first | Face damage drops quickly |
| Light outpost | 5 shield | Outpost must be cleared | Small attacks often stall |
| Double base | 8 shield | Combat may split across targets | Watch next-turn base lock |
| Heavy outpost | 12 shield | Most mid turns clear only shield | Combat burst needed |
| Fortress board | 16 shield | Only big swings reach authority | Trade may be better than face push |
| Damage estimate | Authority left | Pressure band | Calculator message |
|---|---|---|---|
| 0 to 3 damage | 25 or more | Low pressure | Build, scrap, or set base defense |
| 4 to 7 damage | 15 to 24 | Moderate pressure | Next hand can become decisive |
| 8 to 13 damage | 6 to 14 | High pressure | Track every ally trigger and base shield |
| 14 or more damage | 5 or less | Lethal pressure | Recheck outposts before declaring lethal |
Separate base damage from face damage
Enter the opponent board state before reading lethal. Outposts and chosen base attacks consume combat before the calculator subtracts damage from authority.
Use scrap as a future-turn signal
A high scrap count does not create combat by itself, but it raises expected hand quality by removing low-output starter cards from later shuffles.
“Should I attack, even though my opponent has two outposts on their board? Or should I wait, since I have some powerful combat cards?” Colony Wars makes you choose: How do you balance short-term urgency with long-term security? Enter your visible board state and total authority, and the calculator does all that math for you (so you don’t have to subtract shields, remember faction synergies in real time).
Colony Wars’ game dynamic centers around gathering resources against taking hits from authorities. Initially, you’ll have 50 authority points, so you won’t die immediately to damage. This buffer enables players to make mistakes, but it also tempts players into passive play when they should of aggressive. Players frequently accumulate too many trade cards early in the game without realizing their deck will become slow and unable to deal lethal damage.
Why You Should Use the Calculator
To help visualize this, the tool estimates how much face damage your cards account for after factoring in base shield. In a sense, it forces you to consider how much damage actualy hits an opponent’s life points instead of just the numbers in your hand.
Maybe the most misunderstood mechanic for newcomers, deck thinning by scrap is about investing in concentration. Scraping a card doesn’t feel good. You’ve lost something that could have been better, right? Wrong. Starter cards is filler. Scrapping them increases your odds of drawing something useful with each turn, be it a combat engine or key trigger. Feed those scraps to the system and watch it adjust its expectations for your next few turns based on what you input. Eight scrapped cards makes for a much smoother running deck than two scrapped cards; that’s just less noise. This density change creates difference between being stuck mid-game versus dominating late game.
Look at the reference table on the page to see how various faction mixes impact this path. See why that scrappy machine cult plays different than a blob heavy combat deck. Synergy between factions multiplies your moves instead of simply adding bonuses. Three cards from the same faction will unlock allies which can turn the tide of a battle in one shot. These unlocks is included in the calculator’s assessment of combat lift. It knows a chain reaction matter more than raw attack numbers. When you’re setting up a big draw-and-discard loop, you’ll want to count out how many allies has unlocked before swinging for the fences. A missed trigger leaves you vulnerable and your hand empty when someone else swings back.
Managing your base require a different way of thinking. Bases and outposts take hits that would otherwise chip down your enemy’s authority. Do you commit your combat points to break down their defenses early, or hold back until end game push? Breaking an overloaded outpost lock will cost you eight combat points. This could leave you exposed while they buy another shield or launch a retaliatory attack on your next turn. This is where the decision tree gets complicated. How strong are your hands relative to what they have left? What are the risks?
Colony Wars isn’t won by being good at taking colonies. It’s won by making the other player steadily lose control. Your objective is to compel them to make moves where buying and defending isn’t an option. That’s true whether you’re playing a combat burst strategy on a blob or a trade league build. You chip away at their choices until they no longer have any.
How do you know? The calculator tells you. It gives you a frame of reference to understand if you’re in the deadly window or merely nibbling. If you know exactly how close you are, you can play confidently instead of hoping. The question shifts from “can this hand break up these outposts?” to “are we going for the win now, or are we preparing for tomorrow?