Roll Under Probability Calculator
Model roll-under checks for d20, d100, and custom dice with target skill, modifiers, penalties, advantage, disadvantage, critical lows, fumble highs, and one-roll reroll rules.
| Die | Effective target | Fumble high | Flat success |
|---|---|---|---|
| d20 | 8 or under | 20 | 40 percent before rerolls |
| d20 | 12 or under | 20 | 60 percent before rerolls |
| d100 | 45 or under | 96 to 100 | 45 percent before rerolls |
| d100 | 70 or under | 96 to 100 | 70 percent before rerolls |
| Mode | Success formula | Critical formula | Fumble formula |
|---|---|---|---|
| Flat | p | c | f |
| Advantage | 1 - (1 - p)^2 | 1 - (1 - c)^2 | f^2 |
| Disadvantage | p^2 | c^2 | 1 - (1 - f)^2 |
| Reroll step | Applied after mode | Uses same c | Uses same f |
| Setting | d20 window | d100 window | Calculator treatment |
|---|---|---|---|
| Critical low 1 | 1 only | 1 only | Must also be inside success target |
| Critical low 5 | 1 to 5 | 1 to 5 | Caps at effective target |
| Fumble high 20 | 20 only | 20 to 100 | High band overrides success |
| Fumble high 96 | None on d20 | 96 to 100 | Use sides plus one for no fumble |
| Reroll rule | First roll kept | Second roll used when | Best use case |
|---|---|---|---|
| No reroll | All outcomes | Never | Baseline check |
| Non-fumble miss | Success or fumble | Ordinary miss | Training, tools, aid |
| Fumble only | Success or miss | Forced fumble | Stability charm, safety rule |
| Any miss | Success | Miss or fumble | Strong retry permission |
These are the roll under mechanics. There’s always that moment in a tabletop session when the narrative tension hangs entirely on a single roll; you need to hit a target, but you also don’t want to roll too high because then you’ll fumble your spell and blow yourself up or drop your sword into the abyss. That’s what roll under mechanics aims to catch: that exact kind of nervousness which results in a sort of gamble between being careful and being good, something high-is-better systems can never realy mimic.
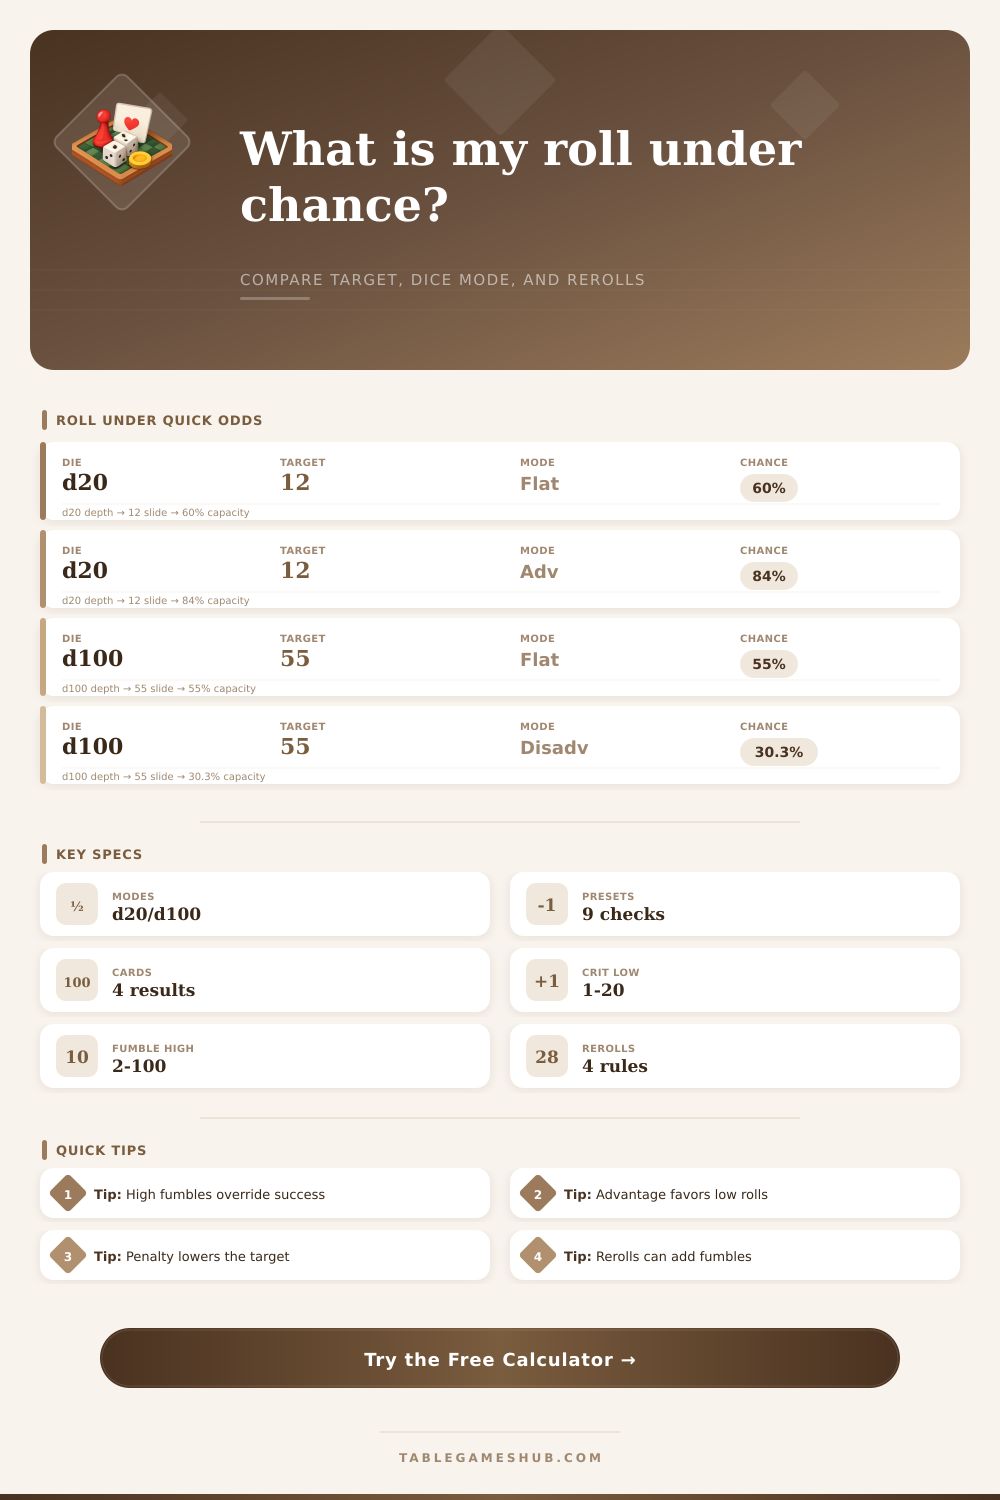
On the surface, the math for these checks is super simple, but add in advantage states, modifiers, and fumble thresholds and things gets gnarly quickly. Now, with this system we’re taking something simple (you’ve got a number); when you roll a twenty-sided die, you need to get twelve or below to succeed at a task. That’s a solid sixty percent starting point. Roll a 1… 20? You’re good! Roll a two through a dozen? Success! That seems easy enough right?
Understanding Roll Under Mechanics
Then they throw in a fumble band. In some games, you automatically fail if you roll a natural twenty no matter how high your skill is. On paper, you have a seventy-five percent chance to succeed. However, the fumble band could slice off those remaining winning faces and lower your chances of succeeding. This does require some math and head-scratching to factor in both areas of possible success/failure, but thankfullly this calculator here will do all the work for us.
Also, roll under means that lower is better; that’s different than hit-over-target games where advantage and disadvantage operate. If you’re rolling with advantage, you get two chances and take the best one (meaning the lowest). That’s huge for shifting your odds to succeed. Statistically speaking, you’re much more likely to draw a low number from a pair of rolls than from just one. With disadvantage, you must take the higher of two rolls: brutal if you’re a character who’s built around having good skill scores. The reference table on the page makes all that clear and will show how something that has a flat fifty percent chance to occur will wildly swing based off whether you’re rolling with aid or hindrance.
Another rule element that gets ignored by game masters in the heat of play is rerolls, which add yet another level of complexity. If you’re permitted to reroll on a miss, and your second roll doesn’t fumble, then congratulations! You’ve increased your success rate. But here’s where intuition betrays most players: you may think “rerolling always helps,” but what if your fumble threshold is low? That second roll could quite easy roll into the disaster zone instead. The tool accounts for that by running the entire decision tree. It considers whether the reroll applies to all misses, or merely certain kinds of miss (specifically ones that aren’t fumbles). In doing so, it highlights how important it is to scrutinize your house rules before you realize they’re helping.
These chances also shift your thinking around how you build characters and approach encounters, you think about what character archetypes are more effective at getting into trouble, and of course, characters with sky-high skill ratings but poor protection against fumbles walk on thin ice. They gets things right most of the time, but when they don’t, it’s usually pretty bad; whereas a moderately skilled but widely safe character is reliable all the way across. The preset buttons let you playtest these archetypes easy, so give one a shot, compare the standard d20 routine scout to the unstable spell check and observe where their risk profiles split.
This is also where the expected hits metric becomes realy handy. This doesn’t give you a good idea of what happens at any one check. Instead, it can help you plan out a campaign by letting you know roughly how many successes to expect. It also helps you determine if a character is actualy capable of a task or if they’re just having a lucky streak that’s going to pop like a balloon.
All that said, understanding these odds brings clarity to the chaos: Once you grasp these odds, they remove the guessing out of character optimization and game design; instead of playing by the seat of your pants based off gut feeling, you can make educated decisions about when to play it safe and when to take a risk. Even if the dice don’t tell the truth (though they often do), the numbers never lie. Once you know your chances of succeeding, you get to enjoy the dramatic thrill of the roll while also knowing whether the system itself is rigged against you.