Target Number Dice Calculator
Calculate dice-pool success odds for a chosen die size, target number, modifier, success threshold, reroll-failures rule, and critical face.
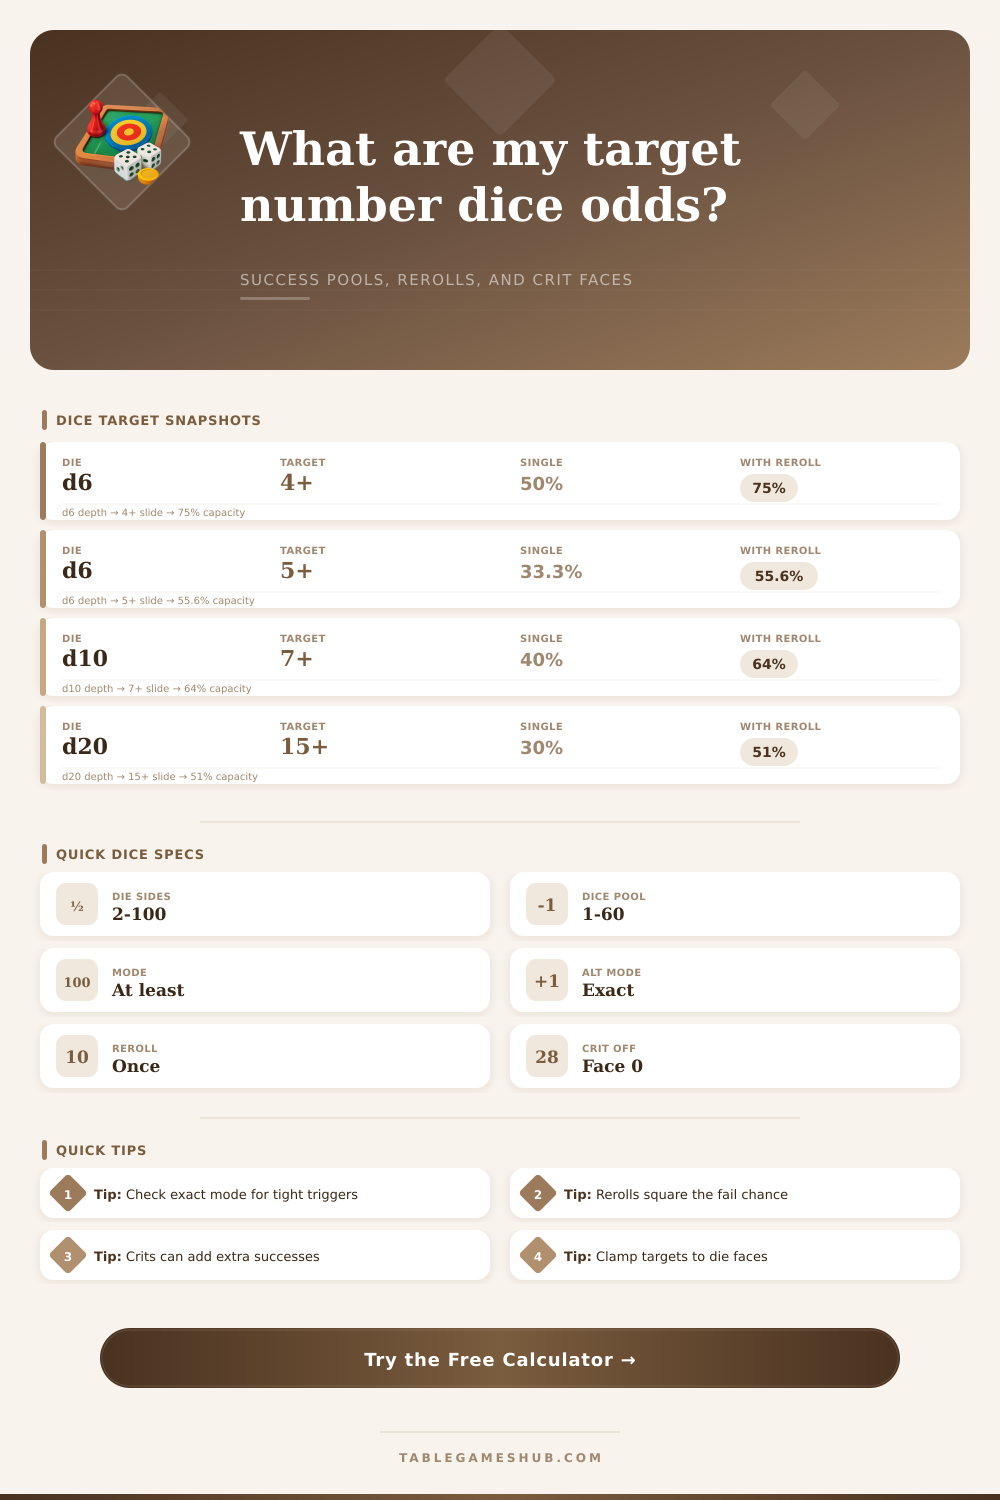
| Die | Target | Success faces | Single die odds |
|---|---|---|---|
| d6 | 4+ | 4, 5, 6 | 50.00% |
| d6 | 5+ | 5, 6 | 33.33% |
| d8 | 6+ | 6, 7, 8 | 37.50% |
| d10 | 7+ | 7, 8, 9, 10 | 40.00% |
| d12 | 9+ | 9 through 12 | 33.33% |
| d20 | 15+ | 15 through 20 | 30.00% |
| Dice count | Best read | Volatility | Useful output |
|---|---|---|---|
| 1 die | Single check | High | Target chance |
| 2 to 4 dice | Small pool | Medium | Exact distribution |
| 5 to 12 dice | Main pool | Lower | At-least threshold |
| 13 to 30 dice | Mass roll | Smoothed | Expected successes |
| 31+ dice | Large pool | Very smoothed | Most likely band |
| Base success | Base fail | Fail after reroll | New success |
|---|---|---|---|
| 16.67% | 83.33% | 69.44% | 30.56% |
| 33.33% | 66.67% | 44.44% | 55.56% |
| 50.00% | 50.00% | 25.00% | 75.00% |
| 60.00% | 40.00% | 16.00% | 84.00% |
| 75.00% | 25.00% | 6.25% | 93.75% |
| Critical setup | Counts when | Distribution effect | Breakdown note |
|---|---|---|---|
| Face 0 | Never | No critical branch | Critical disabled |
| Highest face | Face plus modifier reaches target | Optional 2-success branch | Common pool shortcut |
| Low target | Critical face is within success faces | Crit chance remains one face | Normal if no bonus |
| Too-low face | Face misses the target | No critical branch | Shown as inactive |
| Reroll active | Fail then critical is possible | Critical chance increases | Uses fail x crit |
There’s a certain sort of frustration that comes from attempting to assess the risk of an action at the table while your brain resists calculating the probability on the fly. Okay, sure, you’ve got eight dice, you’re looking for three successes, but how safe does that sound? Human intuition fails us when it comes to understanding how modifiers stack and cumulative odds, and our gut is almost always incorrect.
The calculator up top does all of the dirty work so that we can concentrate on drama instead of worrying about distribution curve. Input your target number, success threshold, and die type and get a clear-cut read as to whether or not you should roll or run.
How to Calculate Your Dice Odds
I think most people just assume that a pool roll follow the same logic as a single die check, but they do not. They’re not equivalent: When you make a single d20 check, it’s binary (hit/miss). You can also roll a pool of six-sided dice where result is actualy on a spectrum, smoothing out more with larger pools.
The tool recognizes this and allows you to choose between exact success modes vs. These are at-least thresholds. Some games give an additional benefit for hitting even one extra thing while in others, once you have enough, that is all you get. Knowing what mode you’re using shifts your interpretation from “fifty percent” to “eighty percent.”
The most underrated aspect of modifiers are that they shift the entire curve without changing its shape. You may think that adding +2 to every die in a big pool will be negligible, but it effectively turns failures into successes across the board. That’s why the reference table on the page show how modifying targets and/or introducing rerolls increases your odds of base success.
Hitting the number isn’t as important then controlling for variance; keeping bad luck from derailing what would of been a good plan. A reroll rule, where you fail and then re-roll one time for each die, is one of single best tools of contemporary game design; it gathers the benefit of a lucky roll without jacking up highest score you might hit. Rather than simply halving the chance of hitting after a failure, if you do fail you get another shot at it. You square the chances instead. As any math student will tell you, that’s something that can boosts your chances by twenty percent or more based off the difficulty of your starting task. It is a little thing, but it is very important if you’re pushing this character to the max and don’t want to break anything in doing so.
The other problem here is that critical faces can add bonus successes to calculation. If a given die roll result is counted as two successes rather than one, then the highest possible outcome from any die roll will exceeds the amount of dice you hold. That shifts the distribution curve so that it has heavier tails; there’s an increased likelihood of extremely good or bad results compared to what we’d expect from a traditional system.
The calculator accounts for this by computing the probability of rolling at least one critical face and tweaking its estimate of how many successes you’ll recieve as a result. It lets you evaluate if taking on that additional risk for a potential reward is worthwhile for your character’s build.
The other thing to remember is that expected value becomes a solid predictor if you have a large pool. Small ones aren’t so stable. There’s a chance to go from all zeroes one roll to all maxes the next; it’s volatile. If you know that then you’ll have an idea about whether you should of be buying better dice or just more dice for your character concept. Not everything is within your control, but you can adjust what you do to reduce effect of variance when it matters most.
In the end it’s a numbers game that makes gambling more strategic. No longer do you wonder if you’re unlucky; now you know when the odds were simply against you. With the numbers at your fingertips you can make a decision without second guessing yourself. That’s why good design should feel this way, whether you’re planning an elaborate heist or aiming for something as straightforward as a bullseye.