Mahjong Dora Count Calculator
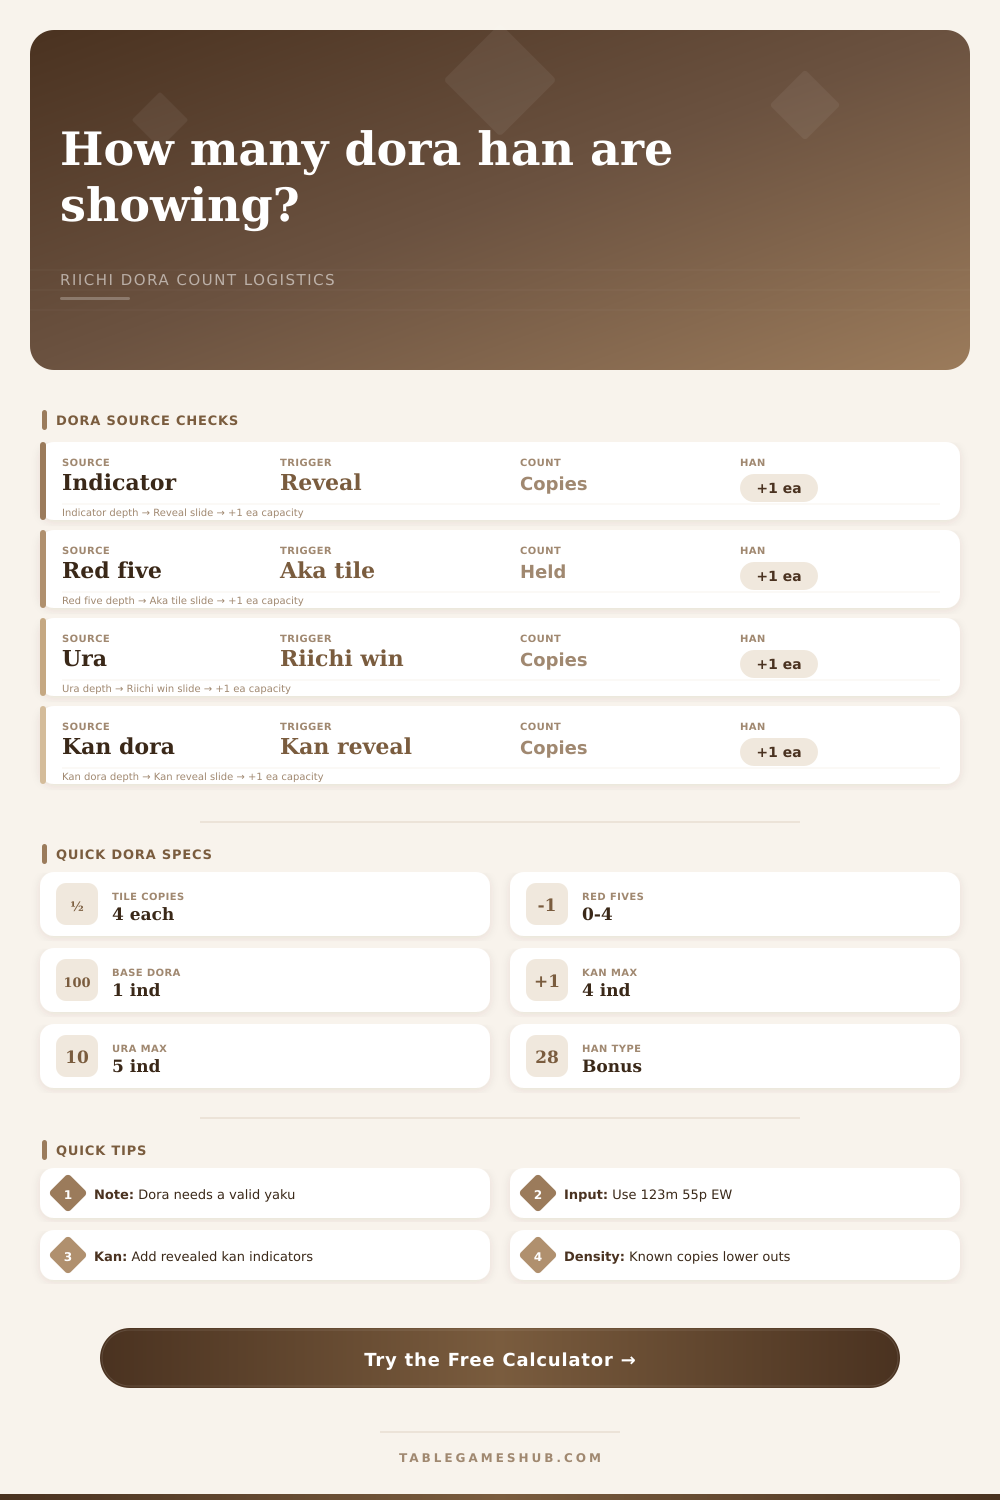
Total riichi mahjong dora from indicators, red fives, ura dora, kan dora, visible copies, and remaining dora density.
| Indicator group | Sequence | Wrap point | Dora example |
|---|---|---|---|
| Manzu, pinzu, souzu | 1 through 9 | 9 returns to 1 | 4m indicates 5m |
| Winds | E, S, W, N | N returns to E | N indicates E |
| Dragons | Wh, G, R | R returns to Wh | G indicates R |
| Repeated indicators | Each reveal counts | No merge | 4m, 4m doubles 5m |
| Dora source | Input field | What is counted | Han contribution |
|---|---|---|---|
| Base dora | Base dora indicators | Hand copies matching indicator result | +1 per copy per indicator |
| Kan dora | Kan dora indicators | Hand copies matching kan indicator result | +1 per copy per indicator |
| Ura dora | Ura dora indicators | Hand copies if ura is active | +1 per copy per indicator |
| Aka dora | Red fives in hand | Red five tiles in the winning hand | +1 per red five |
| Notation item | Accepted examples | Parsed as | Counting note |
|---|---|---|---|
| Number suits | 123m 789p 55s | 1m, 2m, 3m, 7p, 8p, 9p, 5s, 5s | Digits attach to the following suit letter |
| Winds | E S W N or ESWN | East, South, West, North | Each letter is one honor tile |
| Dragons | Wh G R | White, green, red dragon | Wh avoids conflict with west W |
| Red fives | Red fives input | Aka dora han | Do not also write 0m as a red tile |
| Density band | Weighted dora left | Unseen pool | Displayed meaning |
|---|---|---|---|
| Exhausted | 0 | Any pool | No remaining dora copies are counted from visible data |
| Light | 1 to 2 | 30 to 50 | Low density in the unknown tile pool |
| Moderate | 3 to 5 | 20 to 45 | Several weighted dora hits remain unseen |
| Stacked | 6 or more | Any pool | Duplicate indicators make each copy count more |
“You have a humble hand on the table. When shape fits, you call agari. The indicators is turned over; the room falls silent. It’s no longer about managing your tiles; now it’s math time.
In riichi mahjong, dora (bonus han) don’t applies toward yaku requirements. They can turn a one-han score into big payday. In casual games, getting them wrong is awkward; in tournaments, it’s disastrous. Understanding how to manage these bonus is more important than many player realize.
How to Count Dora Points
Once you know what indicator you’re using and how your hands are made up, just plug them into the calculator above. It’ll do the rest for you; saving you all the mental overhead of doing it manually. But knowing why you entered those things keep your strategy sharp.
The biggest source of confusion is distinction between the dora tile (the actual tile), and the indicator (the tile underneath dead wall). If I have a north wind, that means I will have an east wind next. Four of man? Five of man. It’s a simple turn but adrenaline has a way of making human brain skip over steps. Pause and make sure you are counting the tile pointed out by indicator. Not the indicator itself. That’s where people lose their points more often then not.
There is an additional complication from red five tiles, which act as both indicators of a dora and a one-han bonus regardless of whether they show a five of matching suit. So if dora indicator is a four of man, and you have a red five of man, then that is worth two han: the red itself and being the indicated dora (plus however many extra han that would of be worth if there were no dora). This is something the tool handles automatically, but do know that red tiles are effectively free points. They reward aggressive play; they aren’t subject to whims of luck like other form of dora. They’re available to every player out of gate.
Ura dora turn the game upside down. They’re those bonus tile that can be under the closed riichi tile. They only matter if you win on a riichi declaration. Ura dora don’t has to fit the shape of your hand like base dora. They’re completely random.
You can specify ura indicators in calculator, which is important since people tend to forget about them. Ura dora aren’t relevant if you won with an open hand. Everything goes back to zero. That makes this distinction critical in mid-game decisions: whether to go for a riichi win to maybe get ura payoff, or build out a stable open hand.
Kan also introduces an often-forgotten part of timing. Each time one player say they have a kan, it reveals their dora indicator, which changes the dora values for everyone else. In other words, the dora count isn’t fixed during a round. What started out as a three-dora hand could be a five-dora hand if your opponent just declared a kan. You can input the kan indicators that is exposed on the board and apply them to your running total. This will reflect the changing values in real time.
Dora becomes especially exciting in the endgame since every tile has the potential to mean a lot more or less by the finish line. Dora density takes this one step further, beyond mere number of doras, providing an even greater tactical understanding of what’s going on in the game. You type in the tiles that are out on the table, open melds and discards, and it calculates probability of there being dora left in unshown pool.
It isn’t only how good a hand you have now. It’s how much risk you take in drawing another good one. The more dora is showing or accounted for in other people’s hands, the less likely you will draw one of those. But the more remaining dora there are in deck, the more likely you might get a powerful hand. This statistical information leads you to be conservative by not risking deals against good hands, or aggressive by playing to gain points now.
Counting dora correctly isn’t about knowing all of the permutations. It’s about establishing a strong procedure. Check the clues. Confirm the red fives. Test for ura eligibility. Account for kan reveals. When that habit kicks in, it frees your mind to make harder calls on how efficiently to play tiles and what to expect from opponents.
The bonus han are mere numbers. But the effort needed to calculate them properaly shows a player’s general skill. A frenetic mess transforms into an educated chase. So by the time you shout out agari, you know the points align with the skills you displayed getting there.