Raiders Of The North Sea Crew Calculator
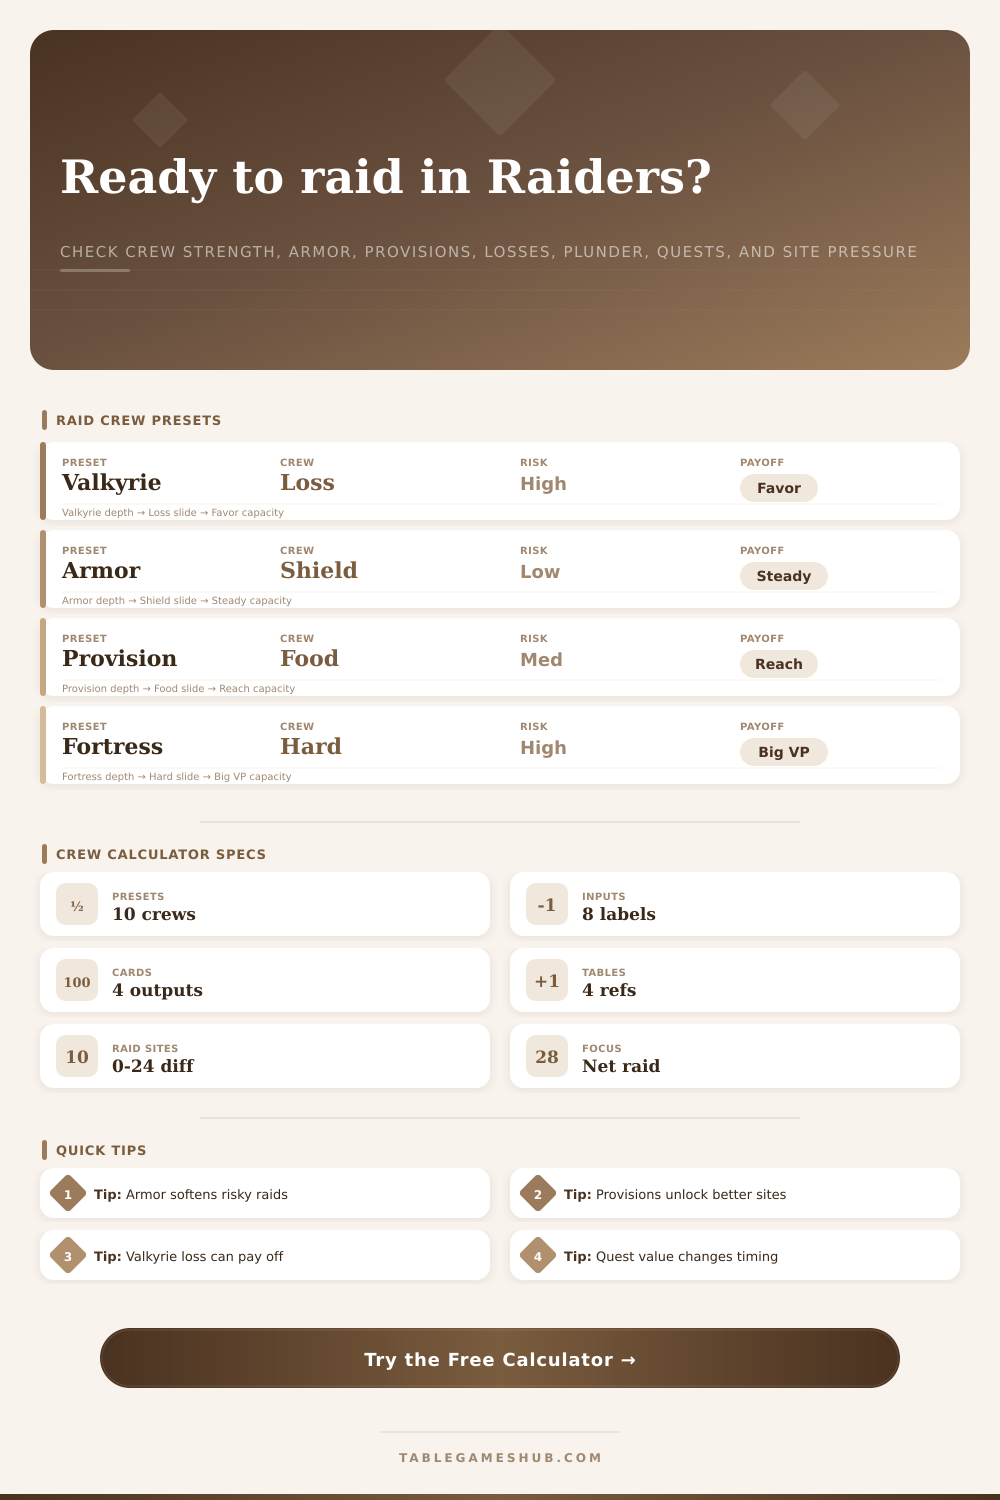
Estimate whether your raiding party is ready by weighing crew strength, armor, provisions, gold and iron, valkyrie loss, plunder reward, quest value, and site difficulty.
1Presets
2Crew Inputs
3Reference Tables
| Preset | Focus | Best Signal |
|---|---|---|
| Valkyrie Raid | Loss for favor | Use when sacrifice adds VP-equivalent value. |
| Armor Crew | Low risk | Strong when armor covers site overreach. |
| Provision Push | Reach | Food opens better monastery or outpost sites. |
| Fortress Raid | High reward | Needs strength, armor, and resource support. |
| Difficulty | Pressure | Planning Read |
|---|---|---|
| 0-8 | Harbor | Low crew demand, modest reward. |
| 9-14 | Outpost | Good first serious raid target. |
| 15-19 | Monastery | Needs armor or strong crew timing. |
| 20+ | Fortress | Late plan with high reward variance. |
| Input | Calculator Role | What It Changes |
|---|---|---|
| Strength | Main power | Raises readiness against difficulty. |
| Armor | Risk cushion | Reduces shortfall and loss pressure. |
| Provisions | Reach | Adds site access and tempo value. |
| Gold/Iron | Support | Helps hires, upgrades, and reward value. |
| Signal | Good Range | Use |
|---|---|---|
| 0 loss | Safe | Best when crew cards are too valuable. |
| 1-2 loss | Managed | Often worth it with track progress. |
| 3+ loss | Severe | Needs big reward or quest follow-up. |
| Quest 8+ | Strong | Can justify holding a raid one turn. |
4Spec Grid
5Tips
A certain kind of sadness exist for board game players whose raids set sail only to be struck down by the weather gods. You amass wealth and bolster your forces. You glare at a well-defended fortress promising glorious victory point payouts. Then you roll your dice… And they betray you. Your valkyrie army dissapears from thin air and now all you’re looking at is a cold, barren board with the cold, hard knowledge that you’ve got no one to man the harbor.
This calculator prevents that from happening by measuring your gut instincts before you start the bloodshed, serving as a cruel reminder about taking risks. It’s all about your strength versus how much they resist. Plug in your armor (a buffer for the dice gods) as well as your raw brawn (the number of people who can swing an axe). Food also plays a part; whether a low-yield harbor or a high-value monastery is better depends on how much food you have.
How to Use the Raid Calculator
Instead of simply determining if you’ll succeed in combat, it consider the immediate consequences of quest pressure, potential booty, and lost crew members against what you might stand to lose. Beyond the obvious strengths and weaknesses, it also helps remind most players to pay attention to attrition cost which can be more subtle. Dropping one crew may not feel like much at the time, but if that was your best placement opportunity or your sole source of silver, then this will hurt you over time.
The built-in presets show typical strategies. A valk heavy run taking losses in favor points, or armor stacking to reduce risk while still gaining ground slowly and steady. These give you an idea of what sort of trade-off should of been expected before you dive into tweaking each number.
But what do those raw scores mean? That’s where the reference tables comes in. They explain that “difficult” (the score) doesn’t necessarily mean the same thing depending on which type of run it is. It breaks down raid sites by difficulty level. These range from safe harbor runs and medium variance vaults to hard-to-assess fortress assaults. Even with a similar strength margin between two raid, a diff score of 20 means something much different than one of 15.
So how does that translate to an actual decision? How does it tell me whether I should go all-in or sit out? That’s where the calculator comes in, it takes those vague tiers and converts them into a number we can understand: Net Raid Value and Readiness Percentage, a clear “go or no-go” signal.
The catch here is always timing. You may have to raid early to meet the requirements of an immediate quest. On the flip side, you could end up sitting around too long. You might miss out on some great resources or let your enemies snag the prime real estate first. Quests and plunder are two different tools with different strategies and thus the tool itself factors in its own value independent off plunder. This allows it to account for when you want to take this option versus when you are willing to risk it.
There’s also an added layer of complexity regarding gold and iron. You can use these resources to upgrade your current figures or even bring in new ones, so you grow your strength pool over time. Running low on gold? The calculator will show you a lower support score, indicating perhaps you should focus more on collecting resources rather than aggressive expansion. That’s the key to maintaining momentum during the entire game. Rather than burning out early on, it gives you options as you approach the endgame.
The loss pressure metric is especially interesting. It measures how likely you are to lose people from your crew by comparing the difference in difficulty between the site and your strength. If it’s really high, then even if you do win the raid, you might be outclassed for the following round. That’s where most people trip up: they only think about points gained vs the operation cost of those points. The loss pressure metric shows this hidden cost so you can operate with information instead of reactivity.
In short, raids is about sustainable growth, not big victories. How much do you want to produce while still being able to respond during the next round? The calculator allows you to run through various situations to determine that sweet spot, the point where rewards meet risks. This transforms a haphazard approach into a strategy that lets you know you’re doing what’s best for yourself. So instead of accidentally winning a battle, it becomes a calculated victory. And how you win the battle isn’t nearly as important than how you win the war.