Curling Score Calculator for End-by-End Scoring
🥌 Curling Score Calculator
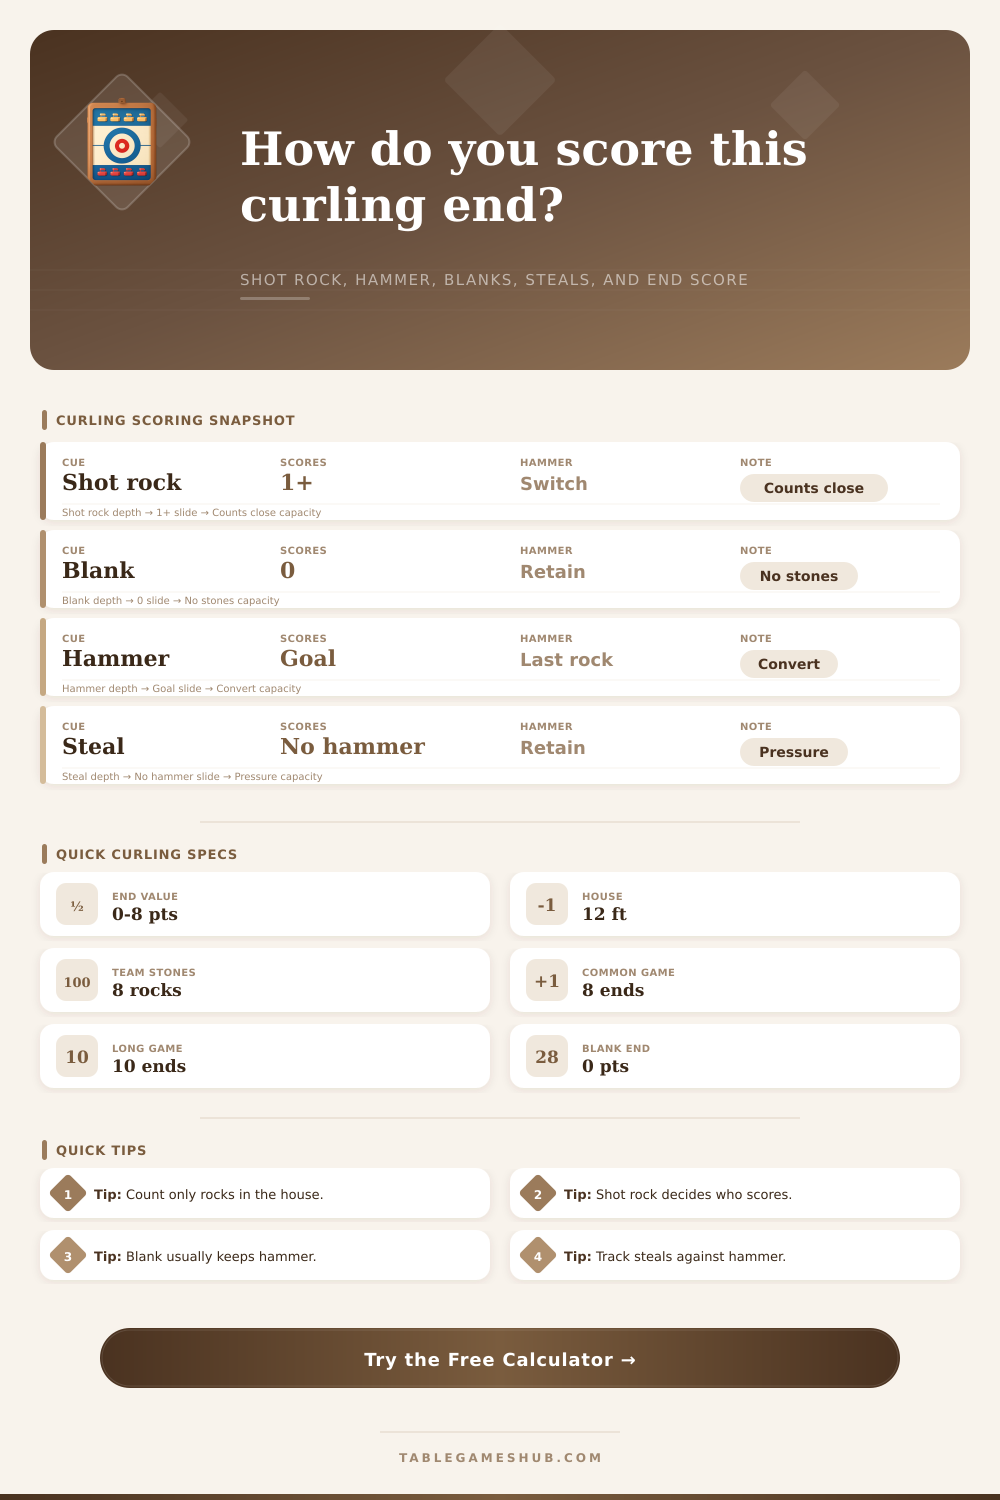
Score the current end from stones in the house, shot rock, hammer status, blanks, steals, and an end-by-end line.
Enter the scoreboard, hammer, shot rock, and counting stones. The calculator posts the current end, updates the score, shows next hammer, and grades hammer efficiency from your match notes.
📍 Presets
⚙ Scoreboard Inputs
Used in result cards, score grid, and breakdown rows.
Use team names, colors, skips, or sheet sides.
Current scoreboard before the entered end is posted.
Opponent total before the current end result.
Use 9 or 11 for an extra end after an 8- or 10-end game.
Controls the end-by-end score grid length.
Hammer is last-rock advantage for the current end.
Most curling keeps hammer after a blank; switch is included for custom sheets.
🎯 Current End Stones
Only the team with shot rock can score in the end.
Count shot-rock team stones closer than the opponent's nearest stone.
Any Team A stones touching the house at end completion.
Any Team B stones in or touching the house.
Used for the breakdown note, not for changing the scoring rule.
Adds context to the current end result.
Comma list for completed ends before this one. Use 0 for blanks or opponent scores.
The live end is appended in the score grid.
📊 Hammer Efficiency Inputs
Count prior ends where your tracked team held hammer.
Hammer conversions: ends where hammer produced at least one point.
Total hammer points for the tracked side or match view.
Blanks are useful when trying to retain last rock for a later end.
Points given up while holding hammer.
Labels the efficiency card and breakdown table.
End resultTeam A +2Shot rock scoresTwo counting stones
Score after end4-2After end 5End-by-end line updated
Next hammerTeam BNext endNon-scoring team receives hammer
Hammer efficiency50%Conversion rate0.75 points per hammer end
🧮 Curling Score Breakdown
4Stones in house
2Counting stones
NoSteal flag
NoBlank end
| Step | Value | Formula | Note |
|---|
📋 Live End-by-End Score Grid
The current end is appended to the entered end lines.
🧱 Curling Scoring Component Grid
Shot
Scoring trigger
All other stones are compared to the opponent's nearest stone.
House
Stone boundary
Guards outside the house do not score.
Hammer
Last rock
A score normally gives next hammer to the other team.
Blank
Zero end
Standard blank handling keeps hammer with the same team.
📐 Curling Reference Tables
| Scoring state | Who scores | Point count | Hammer effect |
|---|---|---|---|
| Shot rock belongs to Team A | Team A only | Team A stones closer than Team B's nearest | Team B normally gets next hammer after a score. |
| Shot rock belongs to Team B | Team B only | Team B stones closer than Team A's nearest | Team A normally gets next hammer after a score. |
| No stone in the house | Nobody | 0-0 blank end | Hammer is normally retained. |
| Measure for shot | Measured shot-rock team | Only measured closer stones count | Post score after the measure is resolved. |
| Hammer outcome | End result | Efficiency read | Scoreboard note |
|---|---|---|---|
| Score 2 or more with hammer | Hammer conversion | Strong | Common target when an offense has last rock. |
| Score exactly 1 with hammer | Forced single | Mixed | Opponent limited last-rock value. |
| Blank with hammer | No score | Strategic hold | Often used to keep hammer for the next end. |
| Opponent scores without hammer | Steal | Pressure against hammer | Hammer team keeps last rock next end after being stolen. |
| Score sheet entry | Meaning | Calculator field | Typical use |
|---|---|---|---|
| 0 | Blank or opponent score | End-by-end line | Use zero for the non-scoring side each end. |
| 1 | Single point end | Counting stones | Often a forced point when hammer is controlled. |
| 2 | Deuce | Counting stones | Common goal for the hammer team. |
| 3+ | Multiple count | Counting stones | Usually a big swing or severe pressure end. |
| Efficiency metric | Formula | Good signal | Watch out for |
|---|---|---|---|
| Hammer conversion | Scored hammer ends / hammer ends | 60% or higher | Forced singles may inflate the rate. |
| Hammer points per end | Hammer points / hammer ends | 1.25 or higher | Small samples can swing fast. |
| Blank rate | Blank hammer ends / hammer ends | Context dependent | Too many blanks can run out of ends. |
| Steal pressure | Steal points allowed / hammer ends | Lower is safer | A single stolen two changes the match quickly. |
💡 Practical Tips
Score the house before the scoreboard
Identify shot rock first, then count only that team's stones that are closer than the opponent's nearest stone in the house.
Separate blanks from steals
A blank says hammer was preserved; a steal says the non-hammer team scored. Tracking both makes hammer efficiency much more useful.
Jump to the reference tables and use this curling score calculator to score shot rock, stones in the house, hammer, blanks, steals, and end-by-end totals.
Curling scoring rely upon the position of the stones within the house, as well as upon the fact that the person who are keeping close attention to which stone is closest to the button is the one that will score for that player’s team. The stone that is closest to the button is referred to as the “shot rock,” and it is the only stone that can score for a given end. The number of a team’s stones that are within the house and closer to the button than any of the opponent’s stones is the number of points that the team scores for that end.
All other concept related to scoring for curling rely upon the position of the shot rock. To determine if a team score for an end, the first task for that team is to identify the shot rock. If a stone that belong to the team is the shot rock, then the team will count how many of its stones are closer to the button than any of the opponent’s stones.
How to Score in Curling
This count can be performed with a calculator, which will prevent any mistake in counting, and will also reveal the score for that particular end, the cumulative score for the entire game, and the information regarding which team will receive the hammer in the next end. The hammer is the last rock to be sent down the ice within a given end. The possession of the hammer allow a team to have more control over the scoreboard.
Teams will often attempt to score two or more points within an end when they have the hammer; if the team score only one point, however, the opponent will receive the hammer for the next end. If no stones score within an end (a blank end), the team that has the hammer will continue to have the hammer after that end. Coaches may opt to allow the game to continue to a blank end rather than take the risk of potentially missing a shot at scoring; the calculator keep track of these choices made by the coaches.
An end is considered a steal for the opposing team if the team that do not have the hammer scores for that end. If either team allow a steal, the team that lost the end both loses points and the hammer for the following end. Thus, coaches place close attention to the number of steals that a team allow while it has the hammer; the steal section of the calculator reveal that number.
A single steal of two points results in the same number of point losses as three previous ends in which the team successfully scored with the hammer. The calculator uses the data that is entered into the calculator for each end to reveal important context for that specific game. A team that is trailing behind by three points in the eighth end will require a different amount of focus and strategy then a team that is trailing by three points but does not have the hammer.
The calculator reveal a grid of each team’s running totals, which shows whether they are extending their lead or attempting to catch up to the opponent. Additionally, the calculator use the total number of ends that are to be competed in the game so that the arithmetic within the calculator is the same whether the number of ends in the league or championship games. The rules of scoring in curling are unchanging, regardless of the skills of the players or the condition of the ice.
The geometry of the houses on the ice remain the same, as do the basic rules regarding the shot rock, blank ends, and steals. A shot rock belong to only one side of the ice, blank ends result in the team with the hammer still having it, and steals result in the team that scored with the opponent receiving the hammer. These rules and states can be reviewed in the reference tables published on this page.
While some may focus upon the number of points that are scored in each end, it is also important to focus upon protecting the hammer. A team that scores three points in one end may not have the same position as a team that scores two points in each of two different ends. The efficiency view within the calculator allow teams to focus upon this portion of the game.
The efficiency view reward a team for scoring points with the hammer, rather than depending upon scoring opportunities during individual ends. The calculator is a tool that remove the need for manual arithmetic calculations; however, it is not a replacement for watching the house and the skips of each of the competing teams. Each team can use the zone and last shot result fields to note which rocks were sent where during each end.
These notes help relate the numbers that the calculator calculates to the actual shots that were taken during the game. When data is entered into the calculator, the calculator will reveal insights into the performance of each team during the game.
