Near and Far Score Calculator
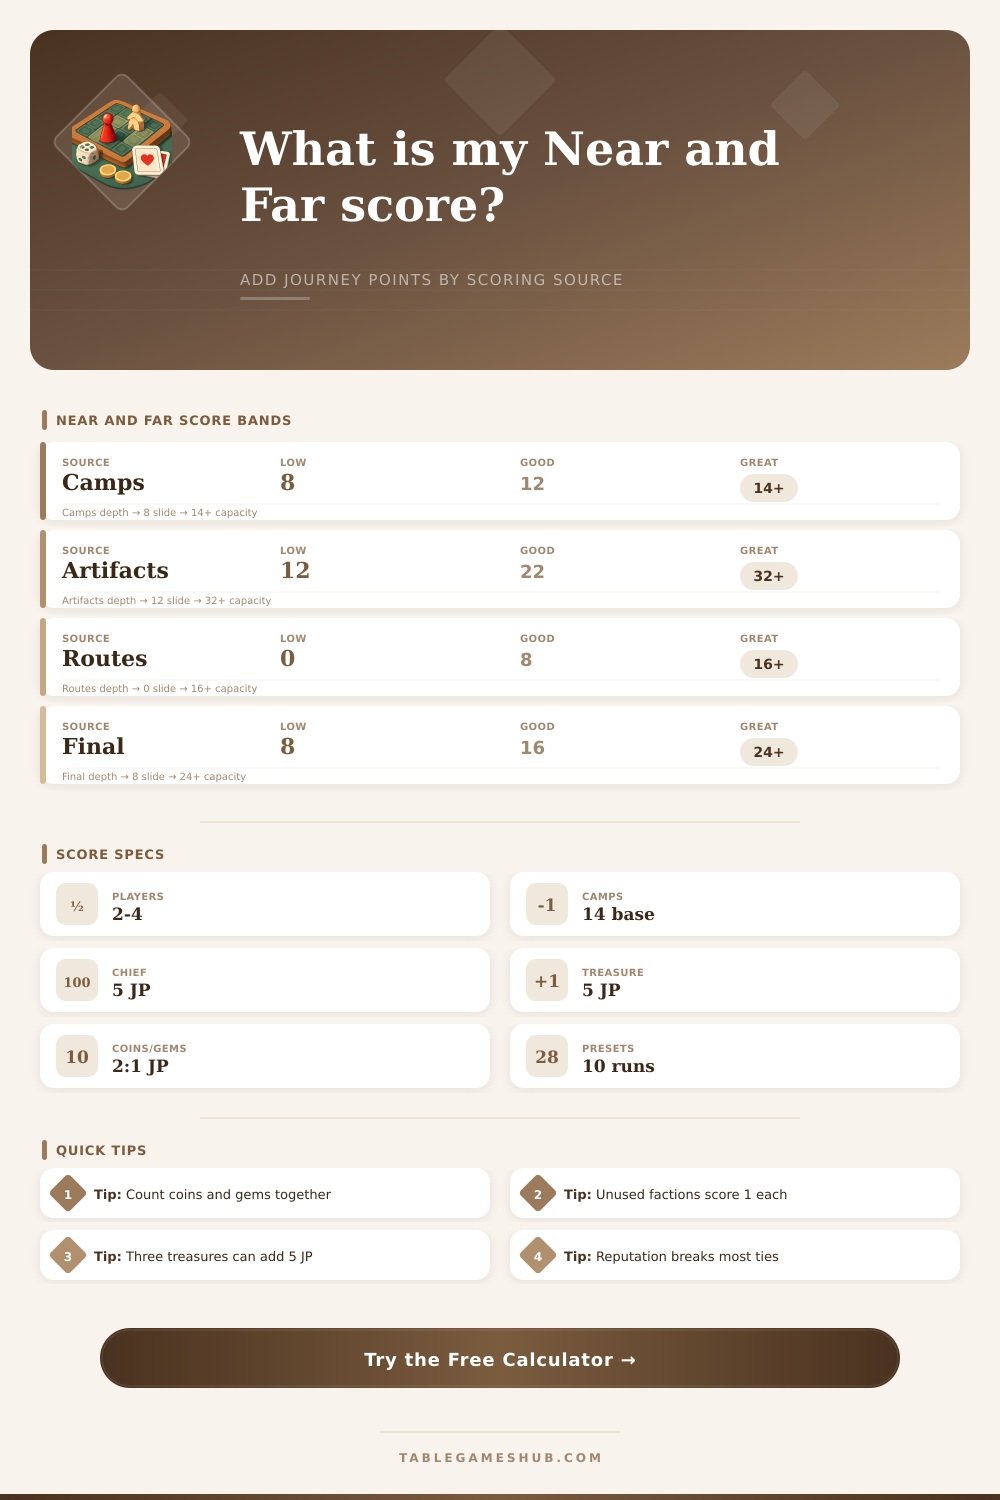
Total journey points from camps, routes, artifacts, quests, factions, reputation, coins, gems, threats, chiefs, and board bonuses.
| Scoring source | How to enter it | Calculator logic | Common check |
|---|---|---|---|
| Placed camps | Count map, mine, and threat camps | 1 journey point each | Base supply is 14 camps |
| Trade routes | Enter printed route points earned | Solo and shared points add directly | Incomplete routes score 0 |
| Artifacts | Sum purchased artifact values | Purchased points minus unbought cards | Cards in hand are -1 each |
| Threats | Sum defeated threat values | Printed points add directly | Threat camp still counts as camp |
| Quests and cards | Enter visible bonus total | Added after map and artifacts | Do not double count special cards |
| Final item | Score value | Input field | Note |
|---|---|---|---|
| Coins plus gems | 1 JP per 2 total | Coins, gems | Round down the combined total |
| Unused faction token | 1 JP each | Unused faction tokens | Score only tokens still owned |
| Faction chief | 5 JP each | Claimed faction chiefs | Chief remains after claimed |
| Three treasure cards | 5 JP | Treasure cards held | Only when holding three |
| All camp spaces emptied | 2 JP | Camp board bonus | Auto uses 14 or more camps |
| Reputation position | Journey points | Calculator band | Tie-break value |
|---|---|---|---|
| -1 to -2 | 0 JP | Neutral loss zone | Low |
| -3 to -4 | -1 JP | Reputation penalty | Very low |
| 4 to 5 | 2 JP | Early positive reward | Useful |
| 6 to 7 | 3 JP | Solid reputation | Strong |
| 8 to 9 | 4 JP | High reputation | Excellent |
| 10 or higher | 5+ JP | Elite reputation | Often decisive |
| Preset journey | Main scoring shape | Expected total | What to watch |
|---|---|---|---|
| Route push | Heavy camps and trade routes | 60+ JP | Shared route values |
| Artifact draft | Purchased artifacts lead | 65+ JP | Unbought artifact penalty |
| Threat hunter | Threats, camps, combat rewards | 55+ JP | Threat points plus camps |
| Reputation run | Faction and reputation stack | 60+ JP | Chiefs and tokens |
| Last Ruin finish | Character quest bonus included | 70+ JP | Use +7 only when complete |
Every board game has that last turn. It is the turn where everything comes down to math rather than any of moves you took three turns before. And no, I don’t mean just because your camp are all in place or you’ve cut off the trade route or you’re like a Dragon defending its stash of Gold Artifacts.
When the last bit of space on the map gets filled and the game ends, all of that carefully laid strategy reduces down to single number. This number is called Journey Points. Get it right and you’ll let out a cheering breath. Miss the tie-breaker and you’ll groan with disappointment. Enter your visible assets into the calculator and it’ll do the rest for you.
How to Count Your Points
That’s great, because there’s normaly a bit of mental fatigue that starts to set in after two hours of focused play. But knowing what matters most, and therefore making better choices along the way, is going to help you understand even before counting ends.
Unbought artifacts in your hand is one such thing. They carry an unspoken penalty that acts as silent killer: every artifact you didn’t buy counts against you. Hoard too long and you might be hurting your score even if those cards impress individually.
Coins and gems is also a trap, they’re converted arbitrarily (until you realize how it affects you). Combine all your leftover coins/gems into a pool, then divide by two to determine the points gained. That’s how many points you get. Rounding down this way, any odd number wastes half-a-unit of resource. This is precisely the sort of micro-efficiency that divides casual from optimizng players. And there is a reason it works. Instead of building wealth aimlessly, the system incentivizes balancing saving and spending.
Reputation is one of those things that feels like it’s just on the board somewhere as an abstraction, but it actualy is a very direct way to earn points, especially in the higher bands, and it’s also a pretty strong tie-breaker. As you move across this reputation table, you can see that there are real points to be gained by moving from neutral territory into positive rep land. And then of course negative rep land really punishes you hard. Most people play right in the safe middle there, but if you’re within striking distance of first, going for the top tiers can make all the difference. Small stuff, but at the end of the day, every point counts.
Faction dynamics add another wrinkle. Each token has value even if not used, and there’s pressure to use all of them for artifact purchases or claiming of chiefs. On the other hand, by keeping a few tokens in reserve, you ensure yourself those points no matter what happens. A chief provides a nice five-point bonus. That’s nothing to sneeze at…unless the game run out before you can get him. The balance between getting things done now and saving something for the finish line is a factor that shapes how good players plays this game.
The other thing that’s maybe the most volatile? That would be artifacts. Artifacts work a little like this: You spend some gold to buy an artifact and immediately it give you points equal to its printed number of points. If you don’t, then points is subtracted from your total at the end. What’s it really measuring though? Mainly, it measures the cards you’ve managed to convert into scores. It’s easy for players to collect cool stuff but forget they’re still costing you something (that unspent potential is a downside).
The core of most scores is camps and threats. You get one point for each camp placed. It is a safe bet that rewards steady expansion across the map. You also get extra points for killing threats. So, if you’re strong enough to take out threats, then they become opportunities. Not only does this give you more points, but it incentivizes players to interact with dangers instead of avoiding them entirely. It deepens each turn by forcing you to consider risk versus reward.
All those things add up to paint a picture of what happened during your match. Were you the map controller? Did you spend more than anyone on artifacts? Did you get on a reputation wave and ride it all the way to victory? And the calculator sorts that all out for you nice and neatly.
But here’s where it gets interesting… You begin to understand, based off this, what strategies work for you when it counts. It reveals to you patterns in your gameplay. Where do you tend to consistently outplay people? What do you typically leave on the table?
At the end of the day, understanding Near and Far comes down to taking chances and juggling those costs and benefits to get the best overall result. Those points along the way don’t mean anything more then the total of all your decisions from Move 1 through Move whatever it was when it ended. Pay attention to all this stuff and you’ll turn that crazy end game into a planned out ending, one that rewards your cleverness instead of dumb luck. Now you know how you did it. And how not. So next time (or even the same time) you can use that information to play better. You would of felt good about it while doing so.