Keythedral Score Calculator
Total building tiles and unused cubes, then review the worker engine that created them: cottages, houses, fences, law card pressure, turn-order bids, and end-game timing.
1 Score Presets
2 Game State
3 Cathedral Building Tiles
4 Unused Cubes
5 Cottage, House, Fence, and Law Control
Cottage number pressure
Control inputs
Final Score
0
Against target
Tile Points
0
Cathedral share
Cube Points
0
Unused resources
Engine Read
0
Worker pressure
Score Breakdown
6 Keythedral Reference Cards
5
Cottages
Each player starts with five numbered cottages. A house can send a second worker when that number activates.
3
Fences
Fences shape access to adjacent fields. Removed fences are gone for the rest of the game.
20
Law Cards
Law cards can alter work order, harvests, tile costs, houses, fences, trades, or start order.
1-12
Tile Values
Building tiles score their printed numbers. The last acquired building tile ends the game immediately.
7 Scoring Tables
| Item | End-score value | Calculator field | Practical read |
|---|---|---|---|
| Building tiles | Printed tile number | 2, 4, 6, 8, 10, 12 counts | Main score source |
| Resource cubes | 1 point each | Stone, lake, wood, farm, vine | Useful leftover padding |
| Ironwork cubes | 2 points each | White craft cubes | Moderate end value |
| Stained glass cubes | 3 points each | Purple craft cubes | Strong leftover value |
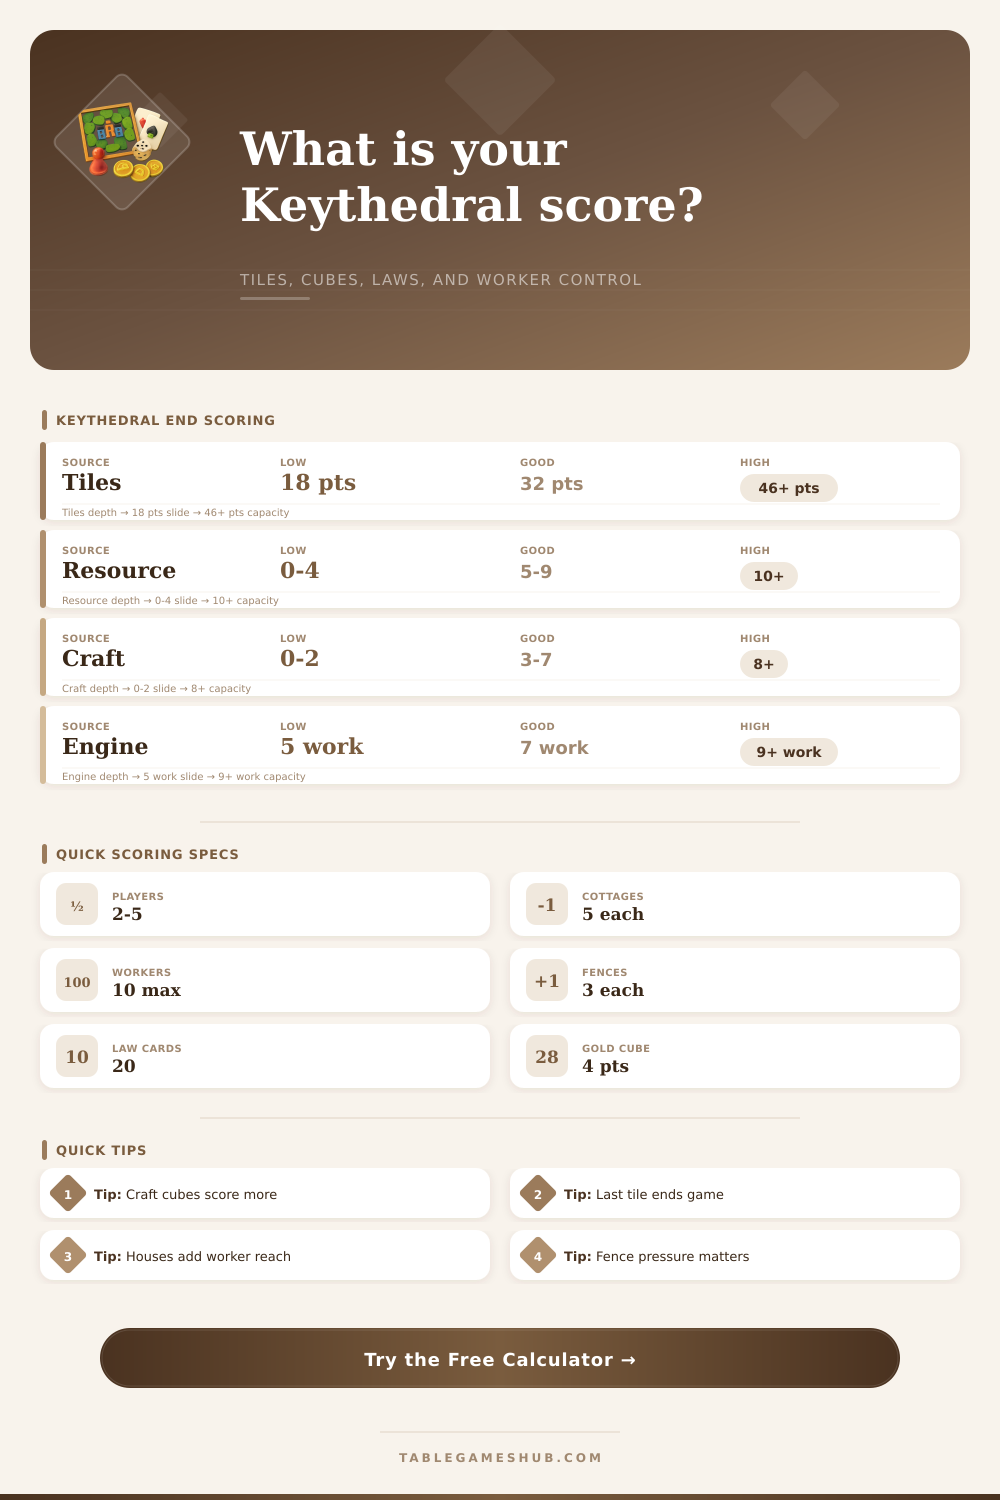
| Gold cubes | 4 points each | Yellow craft cubes | Best unused cube value |
8 Worker Placement and Law Timing
| Lever | What to count | Scoring effect | Watch point |
|---|---|---|---|
| Cottage control | Workers that reached fields | More cubes for tiles | Blocked fields cost tempo |
| House upgrades | Houses built by round | More placements per activation | Late houses repay less |
| Fences | Built and removed fences | Indirect access control | Unsafe Fence can erase one |
| Turn order bids | Cubes paid or received | Cube cost vs first choice | Paid cubes could score |
| Law cards | Played, held, and prevented actions | Can swing tile timing | Buying a law ends actions |
9 Tips
At some point Keythedral goes from the art of creation to the mathematics of it all. Before this shift, you’ve spent time moving your workers around, bidding for who goes next, building fences, and more. Your cathedral might appear wonderful, a sure win. Looks can be deceiving. In this game, many folks think they has won because their building looks symmetrical, but they do not consider raw points. That’s where the calculator kicks in and tells us what the real score is.
Everything is accounted for. Every single building tile get counted as well as those unused resource cubes that sit idling. Believe me; those idle cubes count for a lot. On paper it’s simple. The points you get from your tiles depend on what number they say on them. An eight-point tile gets you eight points. A twelve-point tile gets you twelve, that makes up the bulk of your points. But leftover resource points are actualy cash in the bank at the end of the game too. One cube of farm, one cube of stone and one cube of wood equal one point. Two points for ironwork. Three points for glass. Four points for gold cubes.
How to Count Points in Keythedral
It’s counter-intuitive to save things, but it pays off big time when you don’t have enough points for something, or when there aren’t any more actions left. If your build engine starts slowing down, the craft cubes fills the gap. See the reference table below. Do you erect monuments? Do you stockpile resources? Do that based off how efficiently you place your workers.
Initially, each turn lets you place up to five workers at one of those cottages (one per turn). If you decide to upgrade to a house, this give you two workers in that row. That’s twice as many actions! And it speeds things up if done at the right time. Each house costs actions and resources, so be careful not to spend too soon; you might waste important turns before you get good tiles. Conversely, don’t delay too much; otherwise, you won’t have enough time to reap the benefits of that house. This is where the tool comes into play by helping you track blocked workers, an essential stat. Both workers must be able to access a field for a house to actualy contribute something. An opponent or fence could obstruct your path. In such cases, the second worker becomes dead weight.
This system is thrown off kilter with law cards. Those are 20 cards that cover things like fence destruction, harvest bonuses, and price changes. Many hurt everybody; some will help you. The swing estimate for them is subjective, which requires you to guesstimate their impact on the calculator. Do I need to spend my cubes because there was a bad harvest law? Did a work order change let me get a key row? These qualitative factors factor into economic pressure.
Fences make it more complicated by shutting down access (and requiring poor action). If a fence goes away it shuts down an opponent’s engine or opens up your field for you. All this factor into the net effect, which adds to the worker pressure score. Another scoring element that is frequently ignored is turn order bidding. It seems like throwing away cubes for going first is paying a tax. But it also lets you get key placements, get law cards, etc. Any cubes you spend in this way don’t contribute to your final score. They’re gone, never to be seen again. And the app keeps track of them (so you know exactly how much each bid is costing).
So how do I use it? You can enter numbers into the calculator and see what happens, sure, but that’s not really the point. It’s more of a diagnosis tool. Did you score highly in the tile column while scoring poorly in the cube column? Then you were playing aggressively, burning through resources. That’s fine provided you scored better then others. Did you have good cube scores but middling tiles? Then you probably weren’t making best use of time windows with your buildings, or perhaps you were hoarding resources. Either way, you’re seeing a reflection of your decision making process. The presets show various play styles: a balanced builder versus a player who focused entirely on craft cubes or fence control.
Balance between buildings and cubes. Once you’ve got the last tile for buildings, the game is over and doesn’t let anyone drag things out on the last few turns. It also gives you a natural timer so you have to know when you’re at the top of your engine and when it’s running down. That’s where the calculator comes into play as it lets you see if your fence and house builds were more cosmetic upgrades or if they paid off with worker reach, a way to see just how good your peak was.
In Keythedral, managing limited space, resources, and actions is key. How well you manage them is reflected in your score. Your cathedral may be a masterpiece, but the calculator strips away that pride to reveal the arithmetic truth. A sense of pride goes out the window when it comes to points. The arithmetic truth is what matters here, and that’s worth more than visual symmetry. Plug in your numbers. Where are you? Next time, try to connect high scores and looks. The cubes don’t lie.