Yokohama Score Calculator
Total Yokohama scoring from completed orders, achievements, technology, church, customs, country icons, leftover goods, yen, and final-round route readiness.
| Step | Score Area | Points | Calculator Input |
|---|---|---|---|
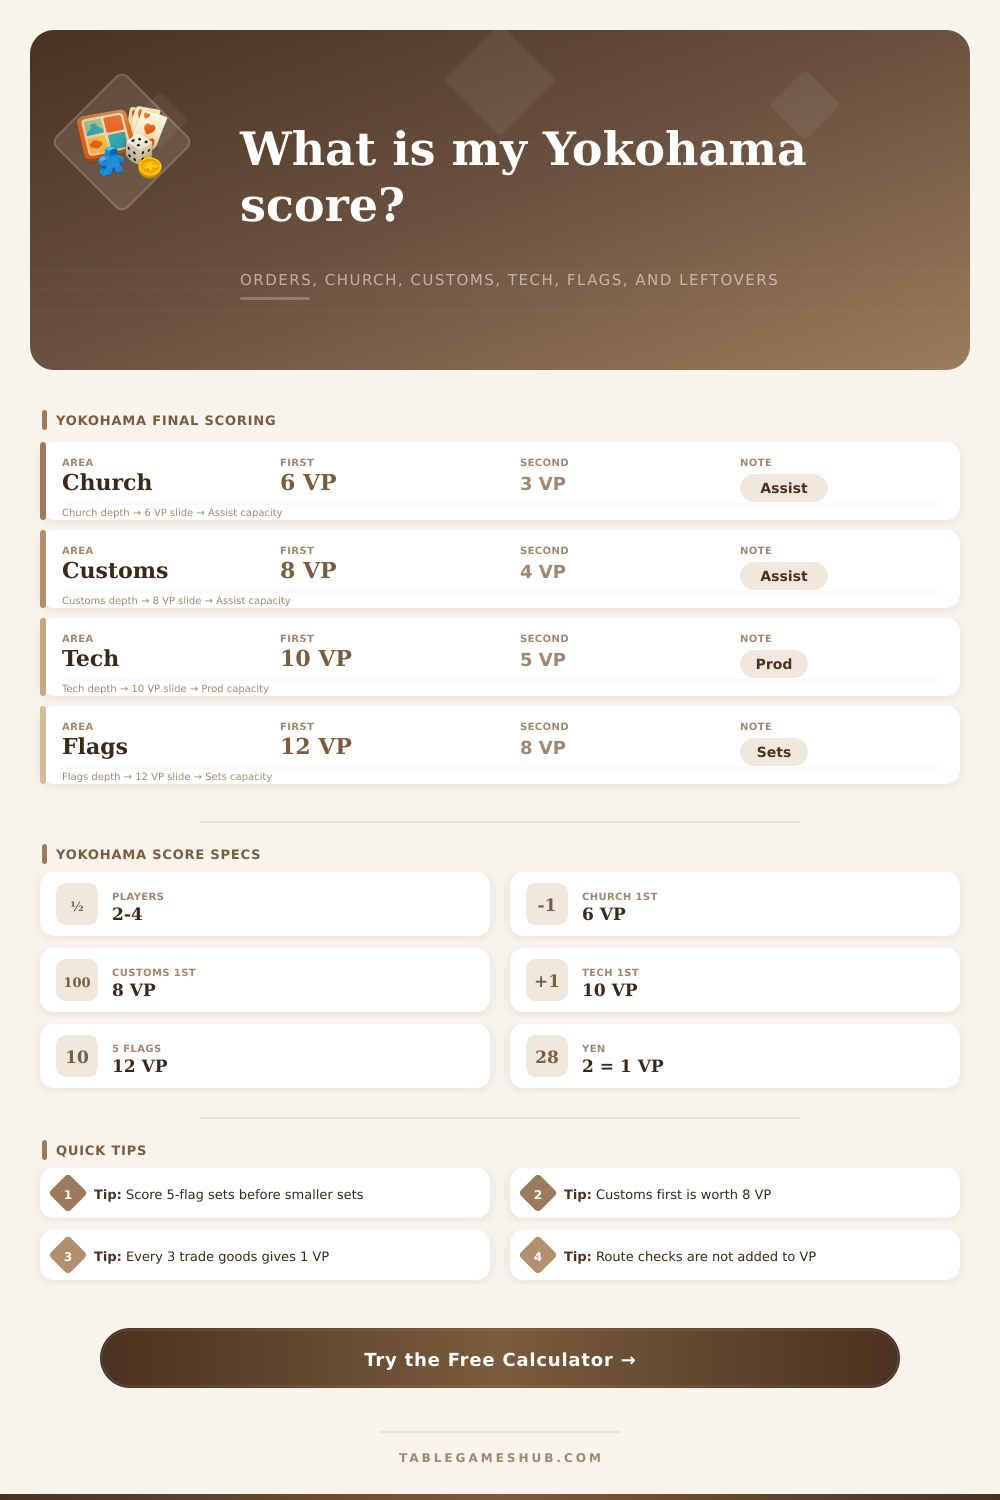
| 1 | Church Management board | 6 VP for first, 3 VP for second | Choose Church finish and note assistants |
| 2 | Customs Management board | 8 VP for first, 4 VP for second | Choose Customs finish and note assistants |
| 3 | Technology production | 10 VP for highest, 5 VP for second | Choose production finish and enter production total |
| 4 | Country icons on completed orders and technology | 5 icons 12, 4 icons 8, 3 icons 4, 2 icons 2 | Enter each country icon count |
| 5 | Remainder scoring | Agents 1, imported goods 1, ¥2 = 1, trade goods 3 = 1 | Enter leftover tokens, money, and goods |
| Different Countries | Bonus VP | Best Use | Source Cards |
|---|---|---|---|
| 5 different icons | 12 VP | Score first whenever possible | Completed orders and technology cards |
| 4 different icons | 8 VP | Strong second set | Any four country types |
| 3 different icons | 4 VP | Useful after larger sets | Any three country types |
| 2 different icons | 2 VP | Last valid set size | Any two country types |
| Item | Conversion | Included in VP | Route Note |
|---|---|---|---|
| Unused Foreign Agent | 1 VP each | Yes | Does not affect president movement |
| Imported Goods | 1 VP each | Yes | May also matter for Customs before scoring |
| Yen | Every ¥2 = 1 VP | Yes | Keep ¥1 per canal crossing |
| Trade goods | Every 3 goods = 1 VP | Yes | Copper, silk, tea, and fish are pooled |
| Assistant chain | No VP conversion | No | Checks whether the president can reach target |
Scoring in the final round at Yokohama is a bit of an accounting exercise. There’s no real strategy here; instead it’s just a matter of translating whatever mess you’ve left on the board to some amount of victory points. It’s important to stay locked down at this point because mistake can be costly.
First, you record points that are actualy safe. These is any achievements you picked up while playing, as well as anything related to tech and church influence. None of these factors are dependent on what the other players have done but they’re all concrete values that give your score a solid foundation.
How to Score Points in Yokohama
Finally, determine your bonuses based off your placement compared to everyone else. Your final standing rank will be reflected in your bonuses for Technology production, Customs, and Church Management. Ties matter, too, so you should of know what place you came in before you convert your remaining inventory. If you placed second in Customs, for instance, you’ll get a nice bonus… Except if someone tied with you: Your assistants’ positions break the tie. It is an easy thing to forget as you’re tallying up those tokens, which is why this calculator can help you avoid making any math mistakes as nerves run high around the table. Simply enter your placement numbers alongside assistant totals, and let the site do all the work for you, that’s what calculators are for, right?
Group them by country icons. These tend to be winners. Because you did probably fill out dozens of orders that earned you some sort of country symbol, you’ll group those up in sets now. Five countries earns 12 points. Four nations earn eight points. Here’s where the danger lies. If you have three French symbols, just waiting for a fourth to come along for a full house, you may give up getting a four-country set (worth eight points!) for the chance at one worth zero. Don’t worry about having everything in a set; worry about being as efficient as possible. Strip out all the partials, then assemble your biggest diverse sets you can manage, filling out the rest with smaller sets. The point structure reveals: steady scoring is better than trying to hit big gaps.
Finally, there is the clean-up. What you have left gets exchanged for final points. Yen converts at two per point, while trade goods pool together at three per point. Any leftover imported goods also pool together at three per point. Did you manage your resources well? Or did you waste yen on last-minute actions? That might mean having fewer final points, but perhaps it gave you an advantage during the game. On the other hand, maybe you wasted currency by hoarding silk and copper for a few extra leftover points. This is inefficient. Is your saving smart? Or are you simply accumulating unneccessarily? Because useless resources you’re not using for high-value actions or sets will actualy reduce your final score.
Knowing how ready your route is will let you know what else you can do. Take a moment before your very last president move to make sure your assistant chain reaches where you want to go. It doesn’t count for points. But it can prevent a costly blunder. Players will scatter assistants all over and assume everything works out just fine until it’s too late. Then, of course, they notice there was no connection and nothing could be done. Checking that chain beforehand guarantees you’ll be able to get to valuable actions at key moments and won’t stumble into misfires different than unstated assumptions about the layout of the board.
Yokohama is all about weighing short term vs. Long term scoring ability; each decision echoes in the final score, making it important to understand the trade offs. And that’s where the calculator comes in, it gives you concrete numbers from abstract board state situations. Tweak the inputs and see what happens, tiny changes will add up in terms of your total. Do you need that technology bonus? Maybe you do. Are you collecting enough countries for a bonus? Maybe you’re doing better then you thought. The board tells you where you are. Whether or not those locations yielded points, the math does.