Cascadia Wildlife Calculator
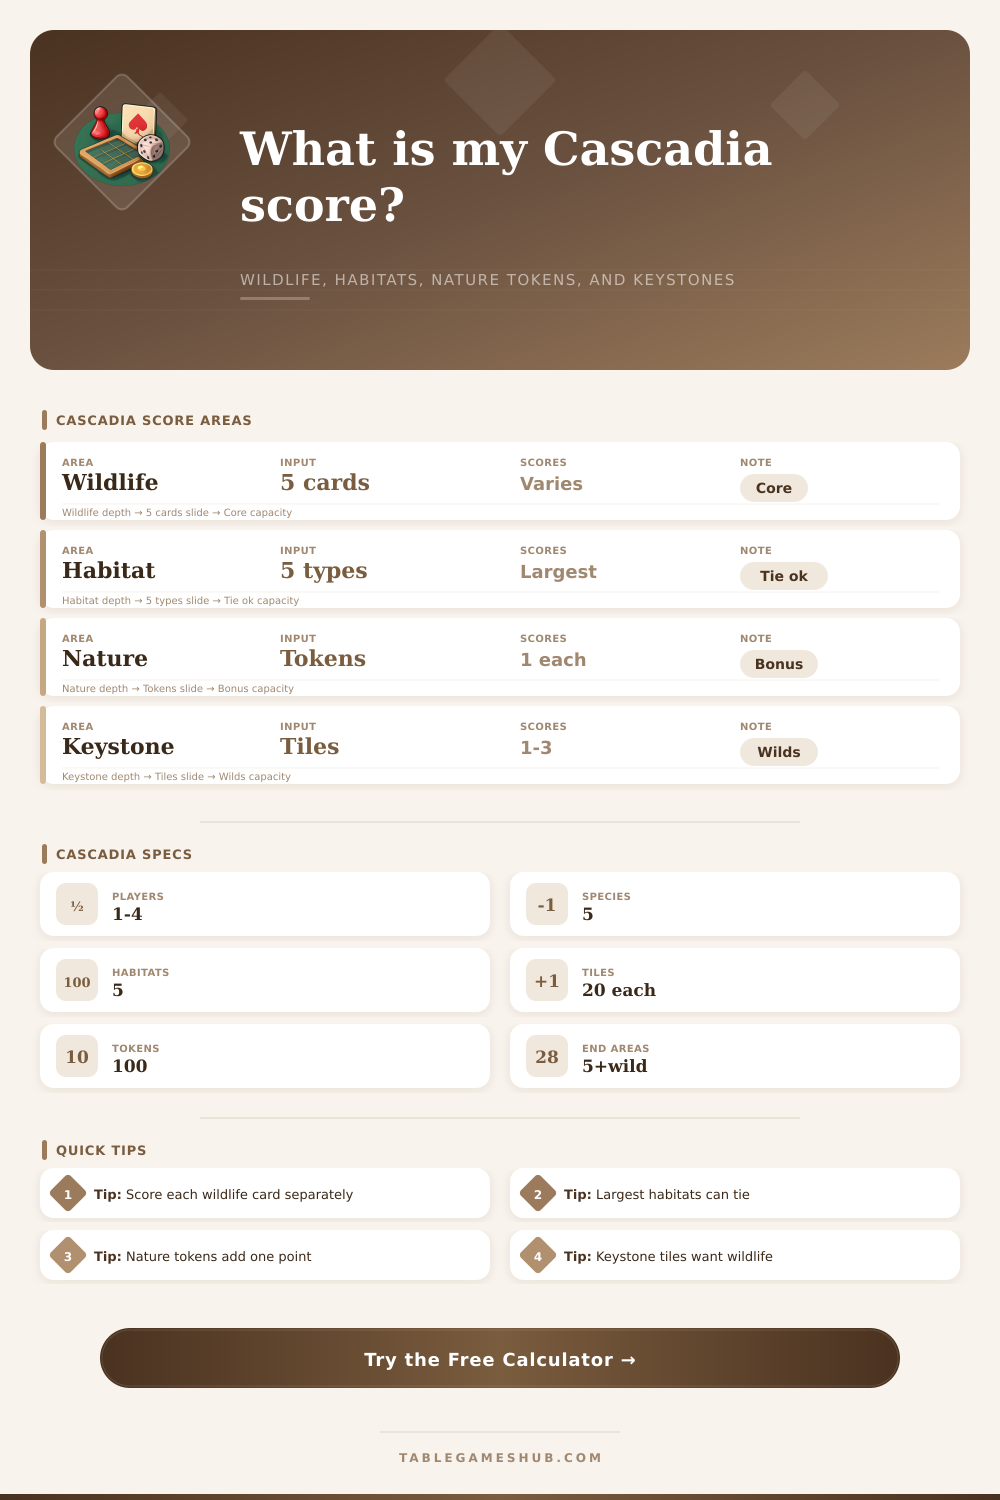
Total wildlife scoring cards, largest habitat corridors, nature tokens, keystone bonuses, and tile efficiency in one board-state check.
Cascadia Score Summary
| Species | Common card goal | Input to use | Calculator treatment |
|---|---|---|---|
| Bear | Pairs, families, or clean groups | Pairs or groups scored | Uses card set A-D multiplier and group cap |
| Elk | Lines, herds, rings, or shape groups | Largest line or herd size | Rewards larger connected elk patterns |
| Salmon | Runs without unwanted branches | Longest clean run | Scores run length and fork control |
| Hawk | Isolated hawks or clear sight lines | Scoring hawks | Values separated territories and spread |
| Fox | Neighbor variety or local combinations | Adjacency variety total | Counts surrounding species diversity |
| Habitat | Scored area | Strong target | Tile logic note |
|---|---|---|---|
| Forest | Largest connected forest | 6+ tiles | Pairs well with bear and fox density |
| Mountain | Largest connected mountain | 5+ tiles | Often scores through split terrain tiles |
| Prairie | Largest connected prairie | 5+ tiles | Watch open edge count late game |
| Wetland | Largest connected wetland | 5+ tiles | Can bridge salmon and hawk spaces |
| River | Largest connected river | 6+ tiles | Supports salmon runs and long corridors |
| Item | Typical source | End score | Calculator role |
|---|---|---|---|
| Nature token | Keystone wildlife placement | 1 point each | Adds direct points and flexibility value |
| Keystone tile | Wildlife icon trio or pair tile | Token engine | Rewards finished token-generating spaces |
| Wildlife overfill | Broken isolation or extra adjacency | May not score | Applies a small clarity penalty |
| Open edges | Unclosed habitat borders | No direct points | Estimates corridor efficiency |
| Preset | Best scoring area | Weakness to check | Expected range |
|---|---|---|---|
| Bear Pair Focus | Bear groups plus forest | Low hawk spread | 78-92 |
| Salmon River Chain | Long salmon and river | Forked run risk | 82-98 |
| Habitat Majority Push | Large terrain corridors | Wildlife imbalance | 84-104 |
| Keystone Token Bank | Nature tokens and fox | Open edge sprawl | 80-96 |
And then there is that last round of Cascadia when it always freaks you out. You’ve played your 20th tile. You’ve run a big forest corridor through the middle. Now you need to account for all those nature tokens, elk herd, and bear pairs before anyone else catches on that they goofed. Scoring doesn’t just mean adding up numbers; it’s a scramble to get things right as game ends. It takes pattern recognition under fire.
This makes it easier to translate the chaotic state of the board to a concrete number. Did I lose due to habitat dominance? Was that hawk at the end of nowhere worth it? The big picture of large habitats are balanced against details of what each wildlife card asks for. It’s a set of goals that often conflict. For example, if you just want to create a massive forest, you’ll end up linking too many bears and violating the isolation rule.
How to Score Points
The calculator does math for you (once it’s fed your current state of the board). But it’s the understanding of how to feed it that creates strategy. That means knowing a single additional tile might complete a river chain for massive salmon points while simultaneously ruining a fox variety score by connecting two previously separated species group.
The tokens for nature is not simply free points. They’re points of flexibility, points of future choices. A single nature token provides a +1 point (but more importantly it delays that point until end game). That way, when you need to use them, it’s likely to be where it matters most based off adjacency rules or keystone tiles. Tokens can have a large impact on any of the various scoring vectors, as shown in this reference table.
It might be tempting to use up your nature tokens early to capture a specific tile. However, make sure you know what your supply is. You don’t want to miss out on completing a vital habitat edge or missing out on a bonus at the end.
You can also expect points from corridors between habitats, but be careful because they are easy to miscount. Score your biggest continuous stretch of any of the five terrain type. Rules permitting, ties may well apply; sharing the prize is good.
Because this can happen, the calculator lets you prepare for situations where you excel in some areas but not others, e.g., “I’m ahead in rivers but behind in forests.” This way you’ll get an idea whether you lead or lag in one or another category of habitat (river, mountain, wetland, prairie, forest).
A big mistake is thinking you automatically win because you have more tiles of a type than anyone else. For instance, it doesn’t really matter how much forested land you control if those bits and pieces are spread out. Only contiguous patches of the same thing count.
Things get tricky with wildlife scoring. Every card has specific geometric needs: bears like pairs or families, elk want either rings or lines, salmon require clean runs, no branching. There’s also a “largest herd” or “longest run” guess for each creature, which the calculator will break out for you by species.
Accuracy is key. For instance, if a card scores well for ring shapes (say an elk), then putting another animal slightly beyond that ring may not bump up your score, but it could of cost you, depending how the card is worded. The tool will check that your cards total correctly in a snap, though you must eye your board doubtfully before entry.
Players find themselves rewarded for balancing short-term desires and long-term structures. There’s no way around it; you can’t always respond to whatever tile gets dealt out of the market. While keeping an eye on what scoring cards are available during the round, you must plan out which habitats you want to build and how you’ll structure them.
Consistency is key: do you want dominant habitat corridors? Or higher numbers of nature tokens? Whatever the goal, use the calculator to double-check your assumptions at the end of the game, but take those lessons into account when placing your next few tiles.
Once you see the patterns, there’s no more panic, only the satisfaction of a well built wild.