Bowling Spare Conversion Calculator
🎳 Bowling Spare Conversion Calculator
Measure spare rate, leave difficulty, expected pins saved, split pressure, and target practice volume from one spare pattern.
Choose a leave pattern, enter your made conversions and attempts, then compare your current conversion percentage with an adjusted goal for that spare. The calculator also estimates pins saved and a useful practice set size.
📌 Spare presets
⚙ Spare inputs
Preset data sets pins remaining, split flag, and normal difficulty.
Count every standing pin in the leave.
Successful spare conversions for this pattern.
All tracked shots at the selected leave.
Higher difficulty lowers the adjusted benchmark.
Use a realistic goal for the leave type.
Shots planned for the next focused practice block.
Used to estimate attempts and pins saved per game.
The plan changes the practice recommendation note.
Condition adds context to the difficulty score.
📊 Spare conversion results
Conversion %
0.0
percent
Made from attempts
Expected Pins Saved
0.0
pins
Per practice block
Adjusted Difficulty
0.0
index
Pattern and lane mix
Practice Volume
0
shots
Suggested target reps
📝 Calculation breakdown
| Measure | Input | Result | Meaning |
|---|---|---|---|
| Conversion rate | 0 of 0 | 0.0% | Made spares divided by attempts |
▦ Spare math grid
10 pin
Leave pattern
Selected spare family.
1
Pins remaining
Standing pins in the leave.
16/20
Made / attempts
Raw conversion sample.
75%
Adjusted goal
Goal after difficulty.
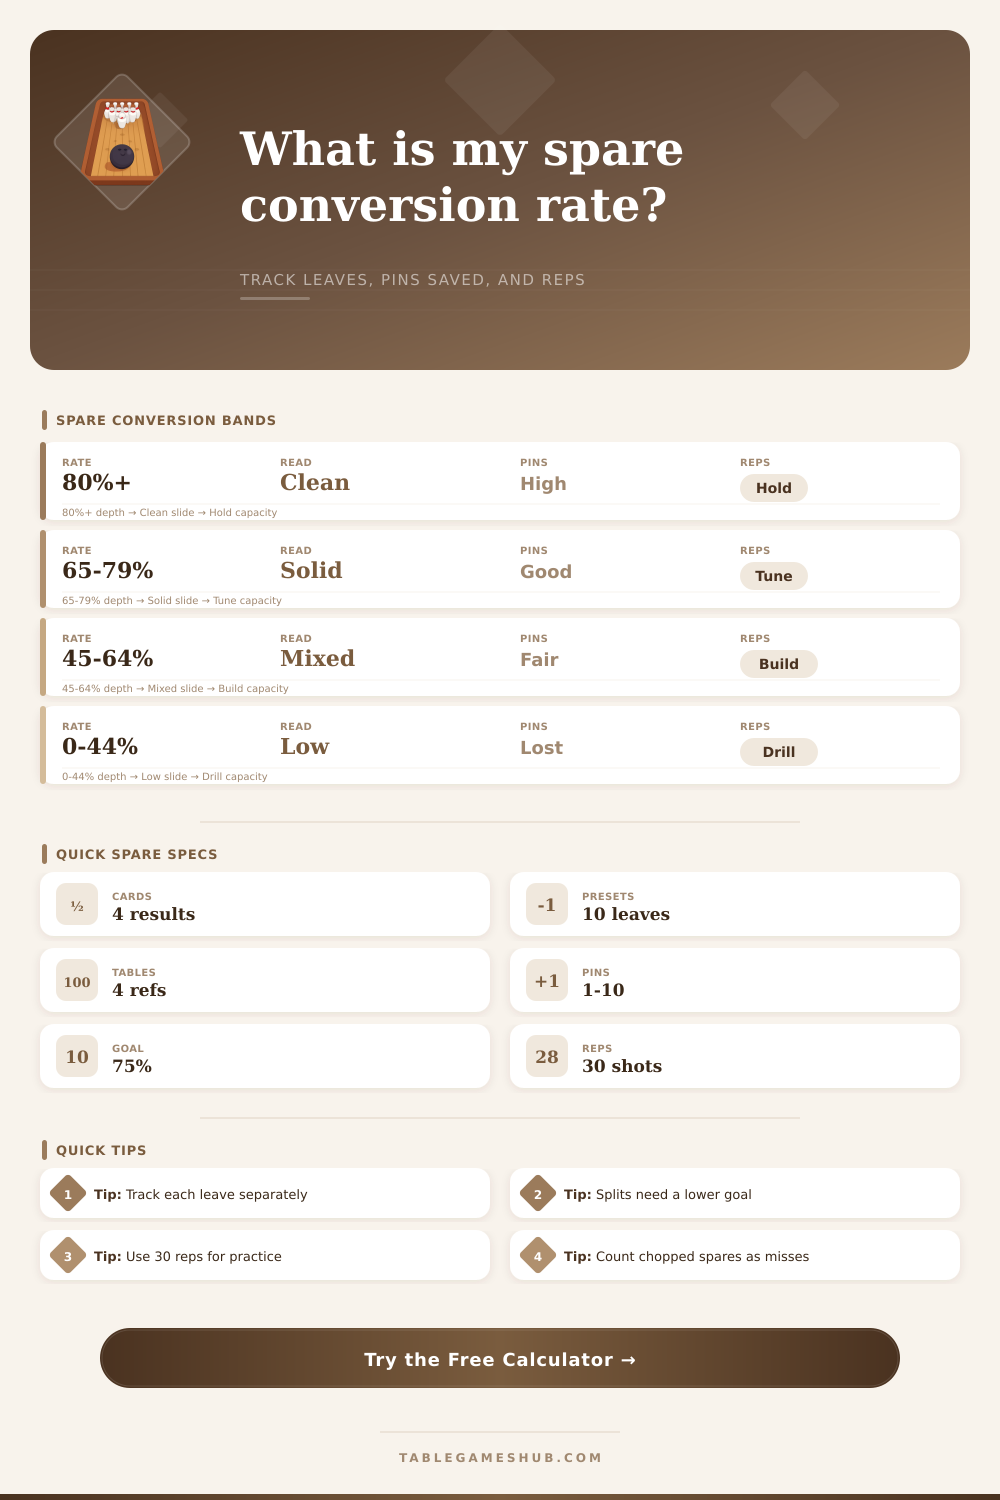
📈 Spare conversion benchmarks
| Conversion rate | Read | Pin effect | Best use |
|---|---|---|---|
| 85% and up | Clean spare pace | Few easy pins leaked | Maintain routine and track splits separately |
| 70% to 84% | Strong league pace | Good pin control | Refine corner and double-pin leaves |
| 55% to 69% | Mixed conversion pace | Noticeable pins left | Practice the highest-volume leaves first |
| Under 55% | Low conversion pace | Score leak is heavy | Build a repeatable spare target line |
🎯 Leave pattern reference
| Leave pattern | Pins | Difficulty | Practice note |
|---|---|---|---|
| Single 10 pin | 1 | Routine | Corner spare line and release repeatability |
| 6-10 right side | 2 | Routine combo | Hit the outside pin path cleanly |
| Bucket 2-4-5-8 | 4 | Cluster | Angle must cover the core of the bucket |
| Baby split 3-10 | 2 | Makeable split | Thread the gap with enough deflection |
| Big four split | 4 | Severe split | Track separately from routine spares |
⚖ Difficulty adjustment table
| Difficulty type | Index | Goal effect | Example leaves |
|---|---|---|---|
| Routine single | 1.00 | Full goal | 7 pin, 10 pin, 5 pin |
| Corner combo | 1.20 | Slightly reduced | 3-6-10, 4-7, 6-10 |
| Cluster | 1.35 | Reduced | Bucket, 2-8-10 washout |
| Makeable split | 1.45 | Lower target | 3-10, 2-7, 4-5 |
| Severe split | 1.80+ | Separate benchmark | Big four, Greek church |
📋 Practice volume planner
| Gap to adjusted goal | Suggested reps | Session shape | Review point |
|---|---|---|---|
| 0 to 5 pts | 15 to 25 shots | Maintenance block | Confirm line and tempo |
| 6 to 12 pts | 30 to 45 shots | Focused spare set | Track made balls in groups of 10 |
| 13 to 20 pts | 50 to 70 shots | Two shorter sets | Separate corner and cluster leaves |
| 21 pts or more | 75+ shots | Rebuild target plan | Lower the leave-specific goal first |
🧮 Formula reference
| Output | Formula | Rounding | Note |
|---|---|---|---|
| Conversion % | Made / attempts x 100 | 1 decimal | Primary spare conversion result |
| Expected pins saved | Practice reps x rate x pins | 1 decimal | Projected saved pins in the next block |
| Adjusted goal | Goal / difficulty index | 1 decimal | Prevents severe splits from using routine targets |
| Needed makes | Ceiling(goal x reps) | Whole number | Target conversions inside the practice block |
| Score leak | Misses x pins remaining | 1 decimal | Estimated spare pins not saved in sample |
Tip: Keep single pins, multi-pin clusters, and splits in separate logs because each leave has a different fair conversion target.
Tip: When made conversions exceed attempts or a split goal looks too high, correct the sample before judging your practice volume.
Spare conversions is one of the central concepts of scoring for people who bowl, and it is often the reason that one person can score a 170 while another person score a 200. Many bowlers focus on their strikes and their strike percentage, but spare conversion is the measurement of there ability to cleanly finish a frame with they first ball. The calculator embedded in this article will allow you to track your spare conversions by logging the pins that you knocked down with your first ball, and it will calculate your spare conversion percentage.
A single pin such as an 10 pin may seem easy to hit, but its possible that you will miss it multiple times during one bowling sessions. The 7 pin is another single pin that can present the same challenges, and if you miss the 7 pin, you drop an open frame. An open frame means that you did not knock down eight or nine of your pins.
How to Track and Improve Your Bowling Spares
By tracking these type of leaves separately, you will be able to recognize if your spare line is repeatable or if you are dropping your spares due to fatigue. Multi-pin clusters require a different target than a single pin. For instance, a 6-10 leave and a 4-7 leave are two different targets than a 10 pin.
A bucket leave such as a 2-4-5-8 leave requires aim at the middle of the group of pins. When you enter these types of leaves into the calculator, it will adjust the benchmark that you are supposed to hit. For instance, knocking down a 2-4-5-8 will not be as easy as knocking down a 10 pin; the calculator will reflect that by adjusting the goal for you.
Splits are leaves that take the most effort to hit, and they have the steepest drop in scoring if they are not hit. For instance, a 3-10 split is easier to hit than a Greek church split or a big four split. When you adjust the difficulty of the splits that you aim for in the calculator, the adjusted goal for these “splits” will lower.
By practicing with more realistic goal for these splits, you will not feel as discouraged if you do not succeed in hitting them. The condition of the bowling lane and the type of spare ball that you use will impact your spare conversions. For instance, house shots may offer you more “friendly” angle for your spare conversions, but sport patterns may limit your spare conversions on the same leave.
Plastic spare balls will allow you to easily knock down the corner pins, but the hook of your reactive ball may hook more than you intend on the lanes. While this calculator will not provide you with the feel of your approach to the pins, it will allow you to record your spare conversions so that you can see the differences in balls and lane condition. The field for practice volume will use your spare conversion percentage and your adjusted goal to create a practice plan for you.
If your spare conversion percentage is lower than your adjusted goal, the calculator will ask you to bowl more practice games. You should not waste your time practicing leaves that you are already succeed in knocking down. For instance, you may find that you only require thirty shots to practice your single 10 pin, but it may take sixty or seventy shots to practice your big four split.
When logging your spare conversions, you must avoid some error. For instance, if you count a chopped spare as a made spare, your spare conversion percentage will be inflated. Additionally, if you log every leave that you attempt under one total, it will be harder to interpret your spare conversions.
Instead, log singles, clusters, and splits separately so that you can easily interpret your spare conversions. Finally, you should not enter more made spare conversions than you attempt; this will produce an impossible rate of spare conversions. The reference tables will provide you with context for the data that you enter into this calculator.
For instance, the reference tables will show how your spare conversions relate to the number of pins that you knocked down, and they will show what type of practice split will best improve each group of spare conversions. Additionally, the difficulty adjustment tables will show you why a split such as a 10-3 is not as easy as a single 10 pin, and the leave pattern reference will show you which type of leave belongs in which category for your spare conversions. These tables will allow you to recognize any patterns in your spare conversions, which will help you to make small adjustments to your spare line or your spare ball choice.
The value of logging your spare conversions will give you clarity for your next practice session. While many focus on strikes, it is your spare conversions that will determine your score when your first ball knock down pins.
